

For me, as a travel photographer, my pictures are often a 50-50 deal: 50 percent image capture, 50 percent image processing. Sometimes, I spend even more time on image processing than on image capture.
When shooting, I try to envision the end-result in Photoshop or Lightroom. That is something I stress to all my photo workshops students.
Here is just one example.
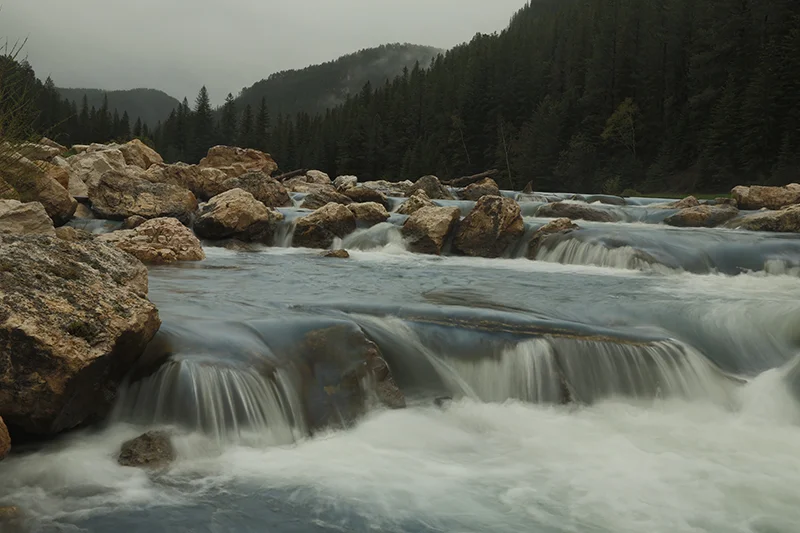
While driving through Spearfish Canon, South Dakota, yesterday, I took the above grab shot. First, the quick grab shot is a bit tilted. Second, the picture is flat – and lacks color, contrast and details, due to the overcast sky.
All that was easily fixed, first in Photoshop by adjusting the Levels and with a bit of cropping. After that quick fix, I use NIk Color Efex Pro – applying the Detail Extractor, Darken/Lighten Center and Tonal Contrast filters.
As a final touch, I stretched the image to more of a panorama using Image Size in Photoshop, increasing only the Width and not the Height. I did that by un-checking the Constrain Proportions box in the Image Size widow.
Envision the end-result. Always.
Explore the light,
Rick


