
Sunset, photographed on our Yellowstone National Park photo workshop.
Hey All - If you like to photograph sunrises and sunsets, here ae 34 tips all in one post!
Also, if you want tons of photo tips – for photographing throughout the day – check out my KelbyOne classes.

Okay, on with my tips!

#1 Starburst Effect. When the sun is in the frame, set your aperture to f/22 to get the starburst effect. The wider the lens, the more pronounced the starburst effect. Also, make sure the front element of your lens is totally clean. Even a tiny speck of dust can look like a big blob in a picture when you are shooting into the sun. Location: Spearfish, South Dakota.

#2 HDR Images. HDR (High Dynamic Range) photography is perfect for sunrise/sunset shots, due to the high contrast range when you are shooting into the sun. To capture the entire dynamic range of the scene, keep taking underexposed images until you have no “blinkies” on your camera’s LCD monitor, and keep taking overexposed images until you can see into the shadows in the image while looking at the LCD monitor. The greater the contrast range, the greater the number of pictures you need to take. I created this image in Photomatix, the best HDR program out there. Click here to get a discount on Photomatix. Location: Tucumcari, New Mexico.

#3 No Filters. When shooting into the sun, remove all filters from your lens, even your skylight filter. When a filter is on your lens, the sunlight passes through the filter and may (depending on the angle of the sun) bounce off the front element of your lens and back onto the filter, creating a ghost image of the sun in your frame. Location: Key West, Florida.

#4 Blue in the Sky. A good time to take city shots is shortly after sunset, when city lights are just coming on and while there is still some color in the sky. Location: Miami’s South Beach, Florida.
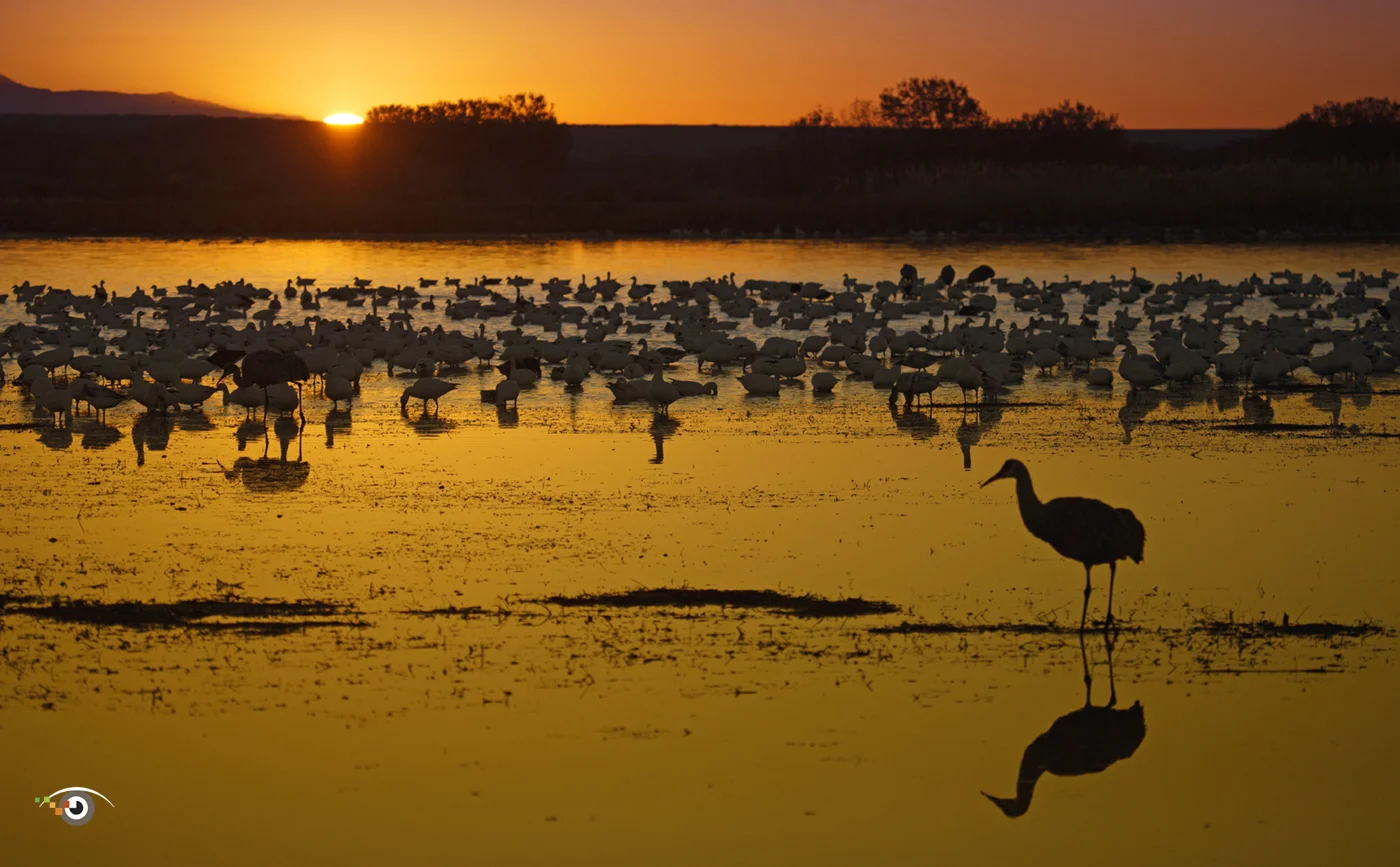
#5 Foreground Element. When possible, use a foreground element to add a sense of scale to your photograph. Also, the more “layers” you have in a scene, the greater the sense of depth. Here there are three layers: bird in the foreground, birds in mid-frame, and the mountains/sun in the background. Like bird photography?
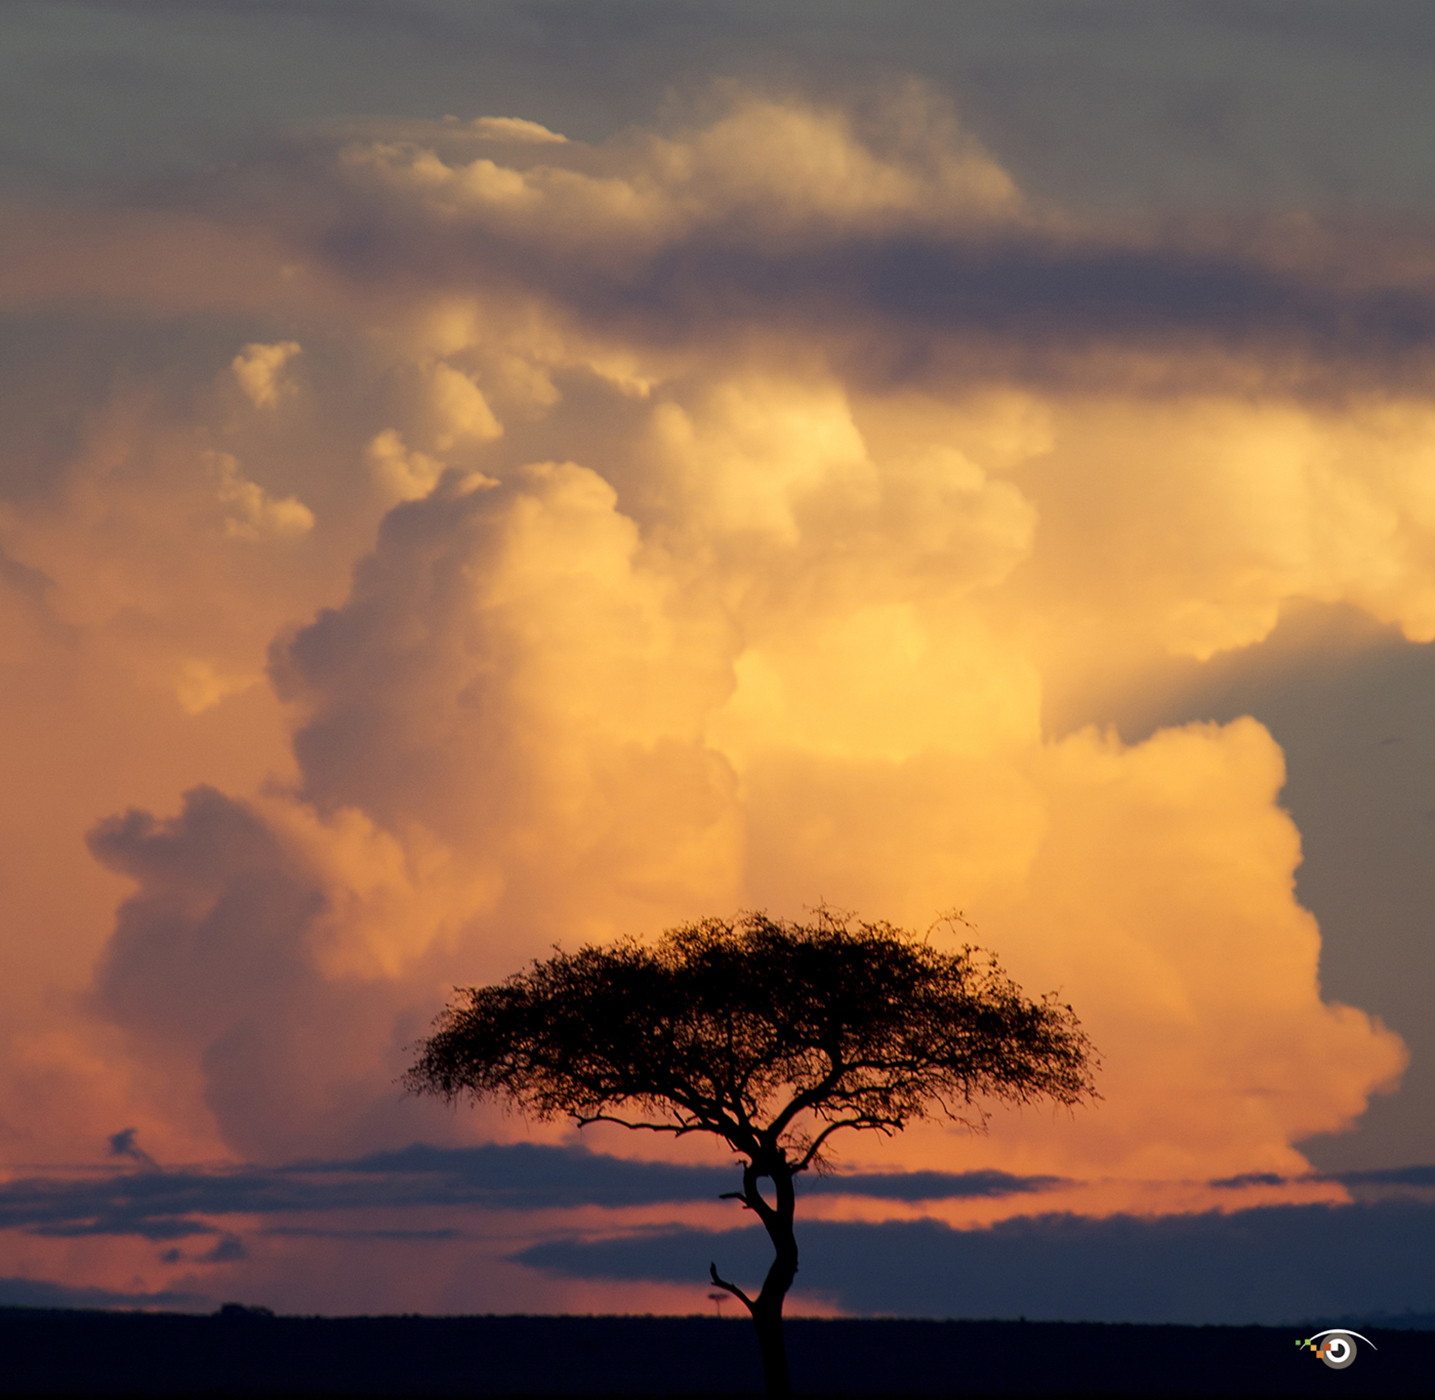
#6 Horizon Line. Usually, placing the horizon line in the center of the frame is boring. When the sky is interesting, place the horizon line at the bottom of the frame, and vice versa. Want to master landscape photography, I have a class on that, too. Click here for info. Location: Kenya, Africa.

#7 Silhouettes. When photographing someone against a sunrise or sunset, have him or her look directly left or right so you can see his or her profile. If they look at the camera, you will not be able to recognize them. Location: Cape Cod, Massachusetts.
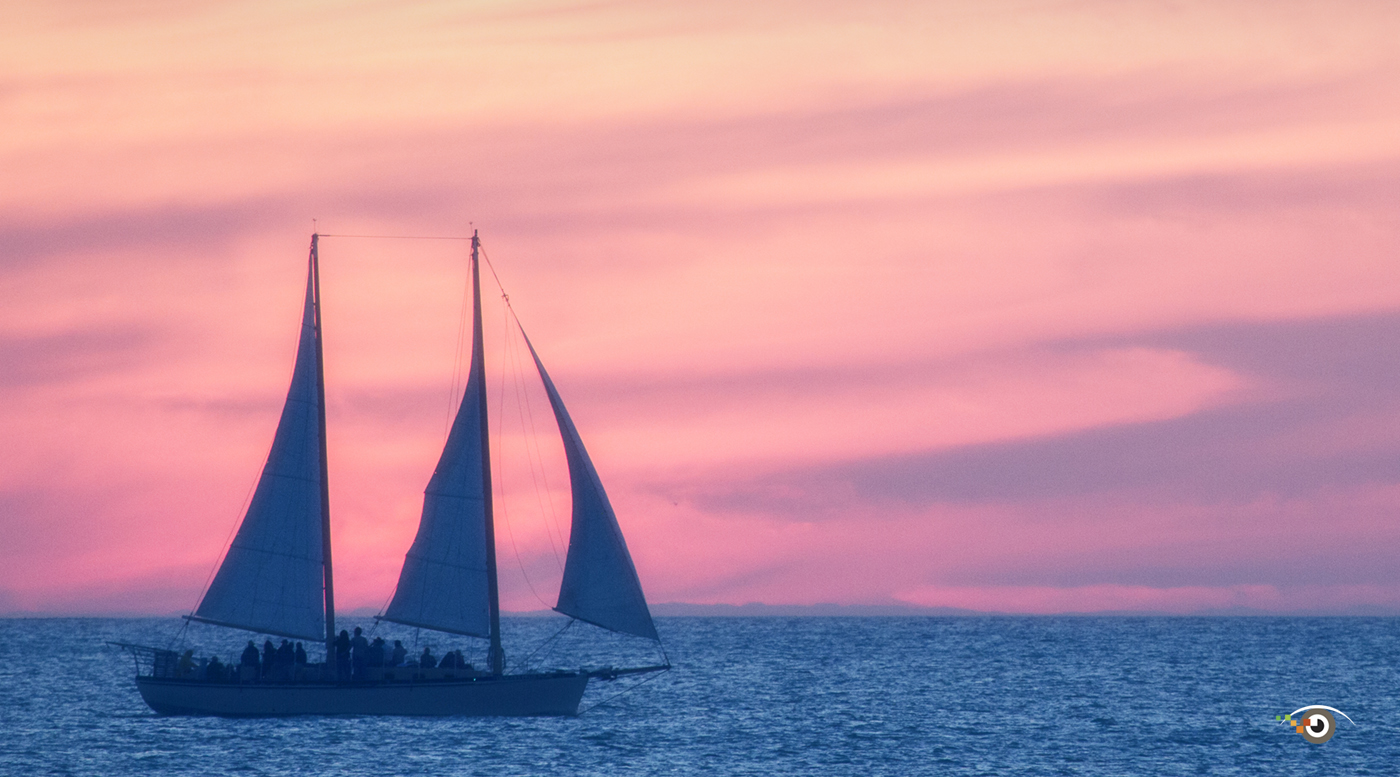
#8 Rule of Odds. If you have the opportunity to photograph an even or odd number of subjects, go for the odd number. For some reason, the rule of odds usually makes for better composition than the rule of evens. Location: Los Osos, California.
#9 Softer Side. Before sunrise and after sunset is a wonderful time to take pictures without strong shadows. In lower light levels, you’ll probably need a tripod. Use a cable release or your camera’s self-time to release the shutter. That helps to prevent camera shake during long exposures. You can create images like this with Topaz Simpilfy. Click here to get a discount all Topaz plug-ins. Location: Key West, Florida.
#10 Rule of Thirds. Placing the sun in the dead center of the frame is deadly – usually deadly boring. Rather, imagine a tic-tac-toe grid placed over a scene, and try to place the sun where the lines intersect. Learn more about composition in my KelbyOne class, Composition - the strongest way of seeing. Location: Los Osos, California.
#11 Expose for the Highlights. In high-contrast situations, it’s important to expose for the highlights. Make sure your camera’s highlight alert feature is activated and avoid “blinkies.” Also check your histogram and make sure you don’t have a big spike on the right. Location: Spearfish, South Dakota.

#12 Have Fun with Plug-ins. Plug-ins can help us awaken the artist within by removing some of the reality from a scene. Here I used Topaz Adjust to increase the color, detail and contrast to my image. Location: Angkor Wat, Cambodia.
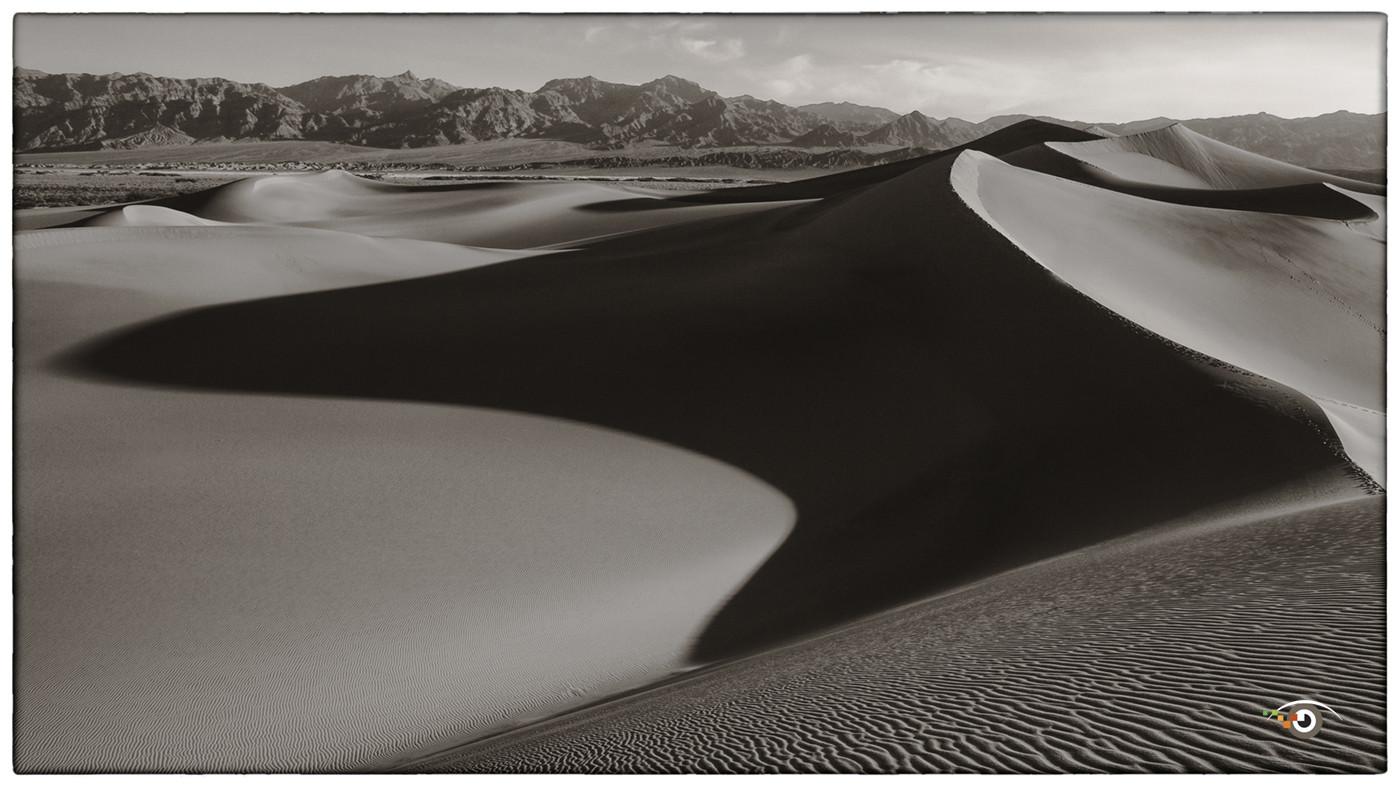
#13 Go for Black-and-White. Strong shadows at sunrise and sunset help to produce dramatic images. Those strong shadows can look even more dramatic in a black-and-white photograph. Topaz Black-and-White Effects and Nik Silver Efex Pro are the two plug-ins I use to create my black-and-white images. Location: Death Valley, California.

#14 Adjust Your Exposure. As the sun rises and sets, your exposure will be constantly changing – quickly. Keep checking your pictures on your camera’s LCD monitor to make sure you are getting good exposures. Location: Tanzania, Africa.

#15 Safety First. Don’t look directly into the sun at sunrise and sunset – or any time for that matter. The sun’s bright light can damage your eyes and may contribute to a loss in vision. This image simulates the harmful effects of macular degeneration. To protect your eyes, wear sunglasses. Also, use your camera’s live view feature, which is easier on your eyes than looking through your camera’s viewfinder. Location: Tanzania, Africa.

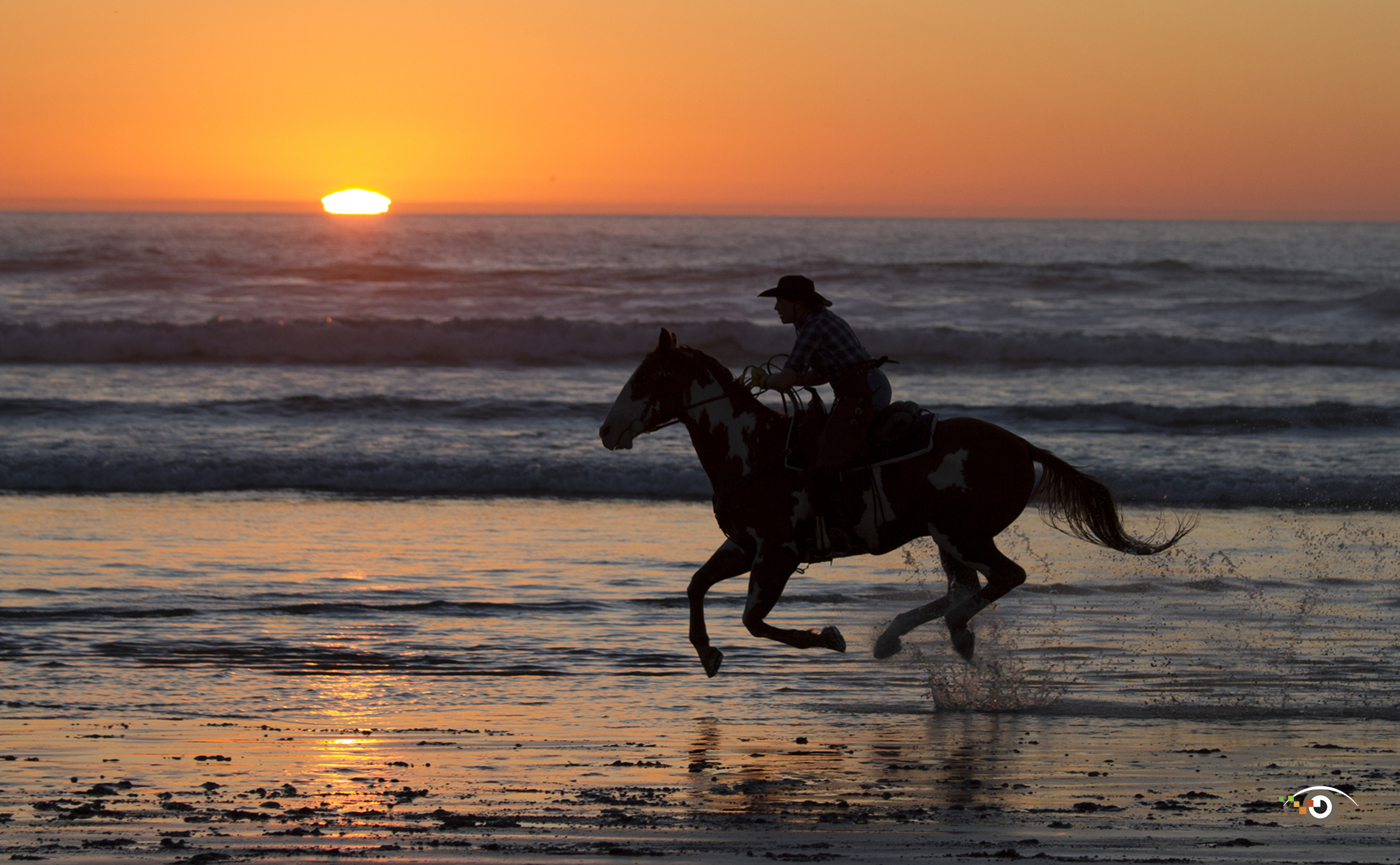
#16 Leave Room. If a subject is moving in the frame, leave some room into which the subject can move or run. Location: Spearfish, South Dakota.

#17 Check the Weather. Clouds and atmospheric haze are usually key ingredients in good sunrise and sunset photographs. Before your shoot, check the weather. In some situations, you may want to “sleep in.” Location: Botswana, Africa.

#18 Pack a Flashlight. For the best sunrise shots, you’ll probably want to arrive well before the sun rises, maybe even in total darkness. Wearing a head-mounted flashlight will let you set up your equipment without having to hold a flashlight. Location: Botswana, Africa.

#19 Make Pictures. There’s a big difference between taking pictures and making pictures. Here I made the picture by paying this man $5 to ride back and forth several times until I got the shot. When you are out shooting, always think about how you can make creative – and fun – pictures. Location: Rajasthan, India.

#20. Always Carry a Camera. This is my most basic, yet most important, tip. Always have a camera with you. You just never know when you might see, and want to capture, a wonderful sunrise or sunset. Hey! We shoot here on my yearly Rick's Backyard Photo Workshop. Location: Croton-on-Hudson, New York.
#21 Share Your Shots. Share your favorite sunrise and sunset shots and get inspired by other talented photographers.
#22 Include Reflections. When photographing sunrises and sunsets by the ocean, we can get beautiful reflections in the still, shallow water on the beach. When composing your picture, make sure that the top of your subject is not cut off in the bottom of your frame. Both images taken at the California Photo Fest in Morro Bay, CA.

#23 Capture the Night Sky. For a single image of the night sky, as opposed to time-lapse images, use a wide-angle lens and set your camera on a tripod, and try these settings for starters: ISO to1600, lens set to the widest aperture, shutter speed set to 10 second. Use a cable release or your camera's self-timer to avoid camera shake during the long exposure. After you shoot, check your image on your camera's LCD monitor. If it's too dark, increase the ISO. Longer exposures will show the movement of the stars. Keep in mind that you really can't judge the exposure by the image on the LCD monitor, especially at night. For best results, take several exposures at different settings. Use Lightroom or Photoshop to reduce noise. Location: Very Large Array, New Mexico (photographed by the light of the rising moon).

#24 Focus Carefully. Just because you have an autofocus camera, that does not mean that your camera knows where to focus. For this shot of a wildebeest, I used a focus point on the left side of my camera. Had I selected the center focus point, the animal would have been out of focus, as the background is here. Location: Kenya, Africa.

#25 Make a Montage. This image is a combination of three images: the birds, the moon and the landscape. When you are photographing a sunrise or sunset, in addition to photographing a wide view, take pictures that can use used in montage. Photograph only the sun or moon, only the landscape, only a subject, and so on. To add to the artistry of this image, I used the Midnight filter in Nik Color Efex Pro. Location: Bosque del Apache, New Mexico.

#26 Paint with Light. Want to have even more fun, and more of a challenge, taking pictures at night? Paint a subject with light. Five million candle power flashlights are available that can illuminate even fairly large subjects at a distance. It takes lots of experimenting to evenly illuminate a subject, but practice makes perfect. For this picture of the New Croton Dam I used my powerful flashlight to add some light to the moonlit scene. A slow shutter speed blurred the clouds. Location: Croton-on-Hudson, NY.
#27 Follow Your Heart. When it comes to image enhancements, follow your heart. Do what you think is best, not what someone else may like. If you like super-saturated images like this that burst with color, go for it. Speaking of hearts, check out the upside down heart in this image. Location: St. John's Pier, St. Augustine, Florida.

#28 Always Look Back. Don't forget to look behind you when you are photographing sunrises and sunsets. The light is good back there, too. These snow geese where taking off behind me when I was facing the sun. Good thing I looked back! Location: Bosque del Apache, New Mexico.

#29 Dress for Success. If you are not comfortable when you are photographing, you will not be in the best mood to take pictures. I always dress for success. It was -1 degrees Fahrenheit (-18.3 Celsius) when I took this shot. Had I not had hand and toe warmers, plus warm gloves and a winter coat and hat, I probably would not have stood outside in the cold waiting for two hours to get this shot. When I am shooting along the coast, I always pack waterproof boots. Location: Bosque del Apache, New Mexico.

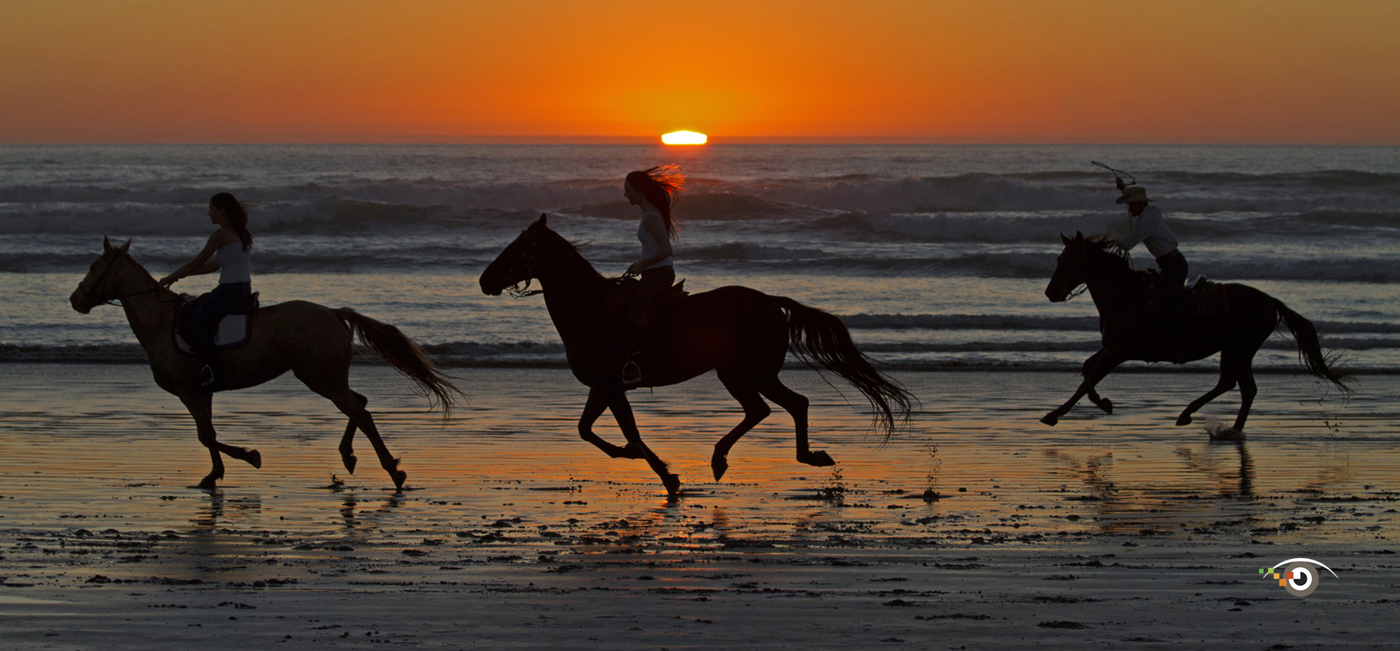
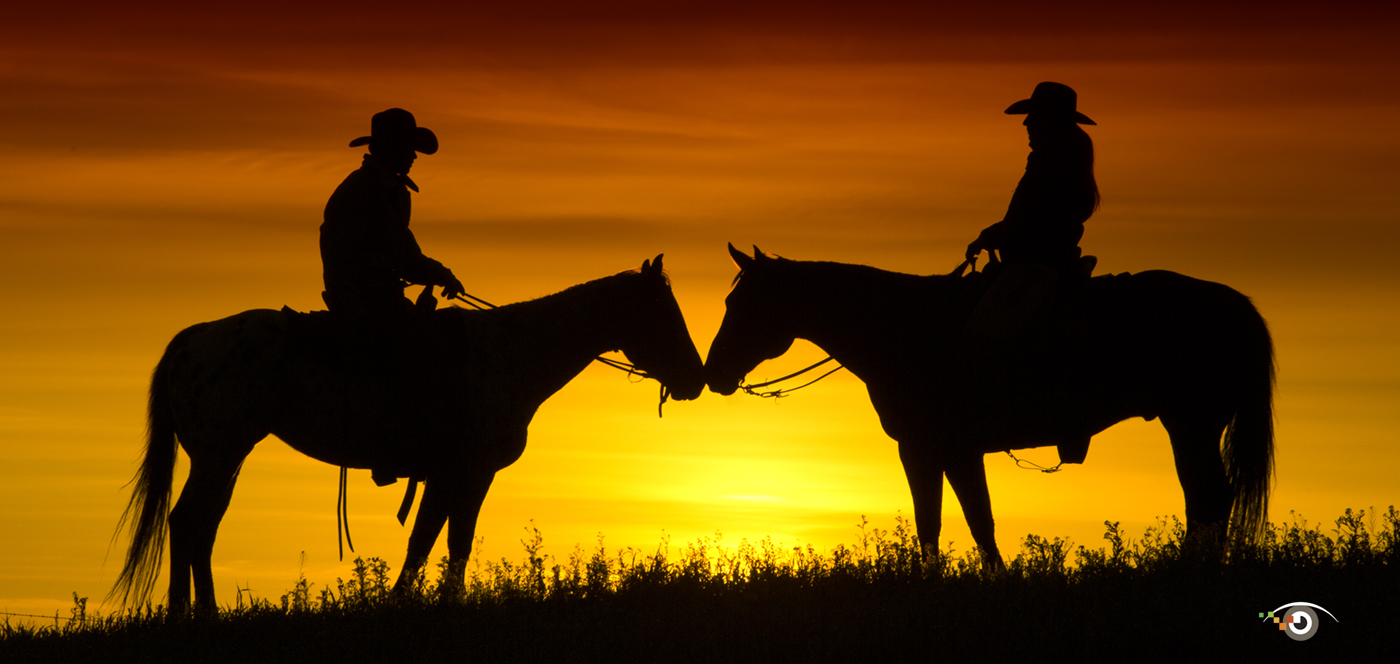
#30 See the light. When the light is low in the sky, it's important to see the direction of light – so you can see where shadows will fall. One idea would be to have a subject's face, or several subjects' faces, evenly illuminated. I took this photograph on one of my digital photography workshops. Off camera, three riders are herding the horses in exactly the right direction – so the horses faces are evenly illuminated. Location: Provence, France.

#31 Catch the Moon at Sunrise. Depending on moonrise, you maybe be able to get a nice shot of the moon at sunrise. Tight shots are nice, but wide-angle shots can tell more of a story or create photographs with a sense of place. Shoot it both ways. Location: Bosque del Apache, New Mexico.

#32 Lenses to Shoot the Moon. I use two lenses to shoot the moon. Here I used my Canon 100-400mm IS lens. In the previous image I used my Canon 70-200mm IS lens. Longer lenses will show the moon larger in the frame, wider lenses will show the moon smaller. Location: Botswana, Africa.
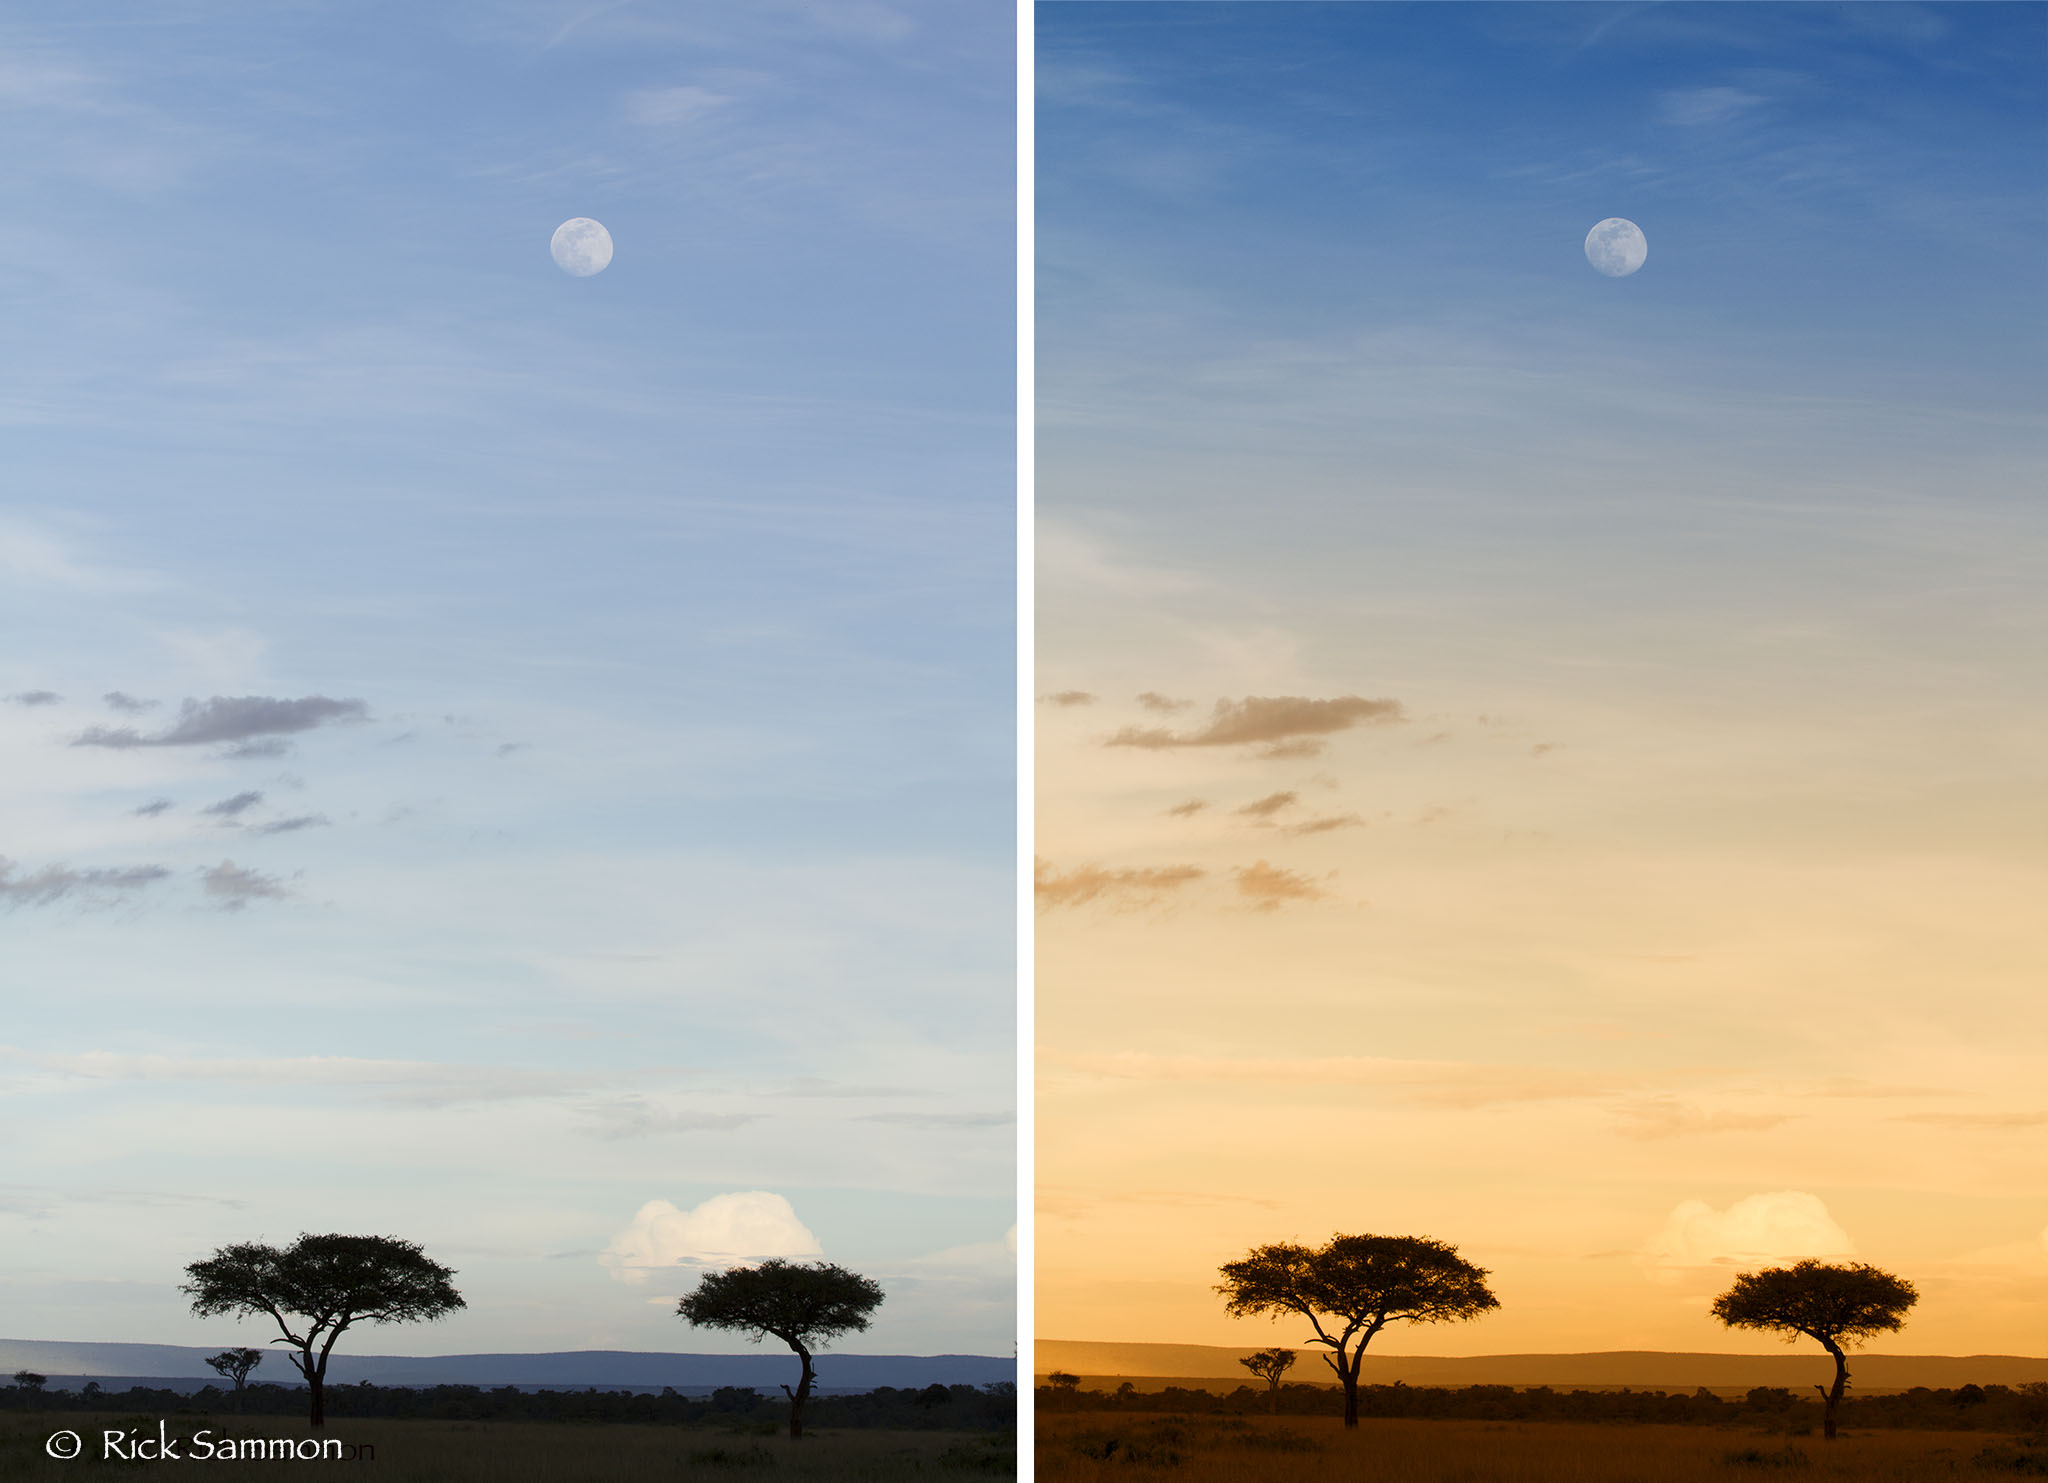
#33 Bi-Color Gradual Filters Rock. Not great color in your sunrise or sunset pictures? Not to worry. Add colors with the Bi-Color Filters (pre-sets and user defined) in Nik Color Efex Pro. Location: Botswana, Africa.

#34 Don't Cry. "Don't cry when the sun is gone, because the tears will not let you see the stars" – Violeta Parra.
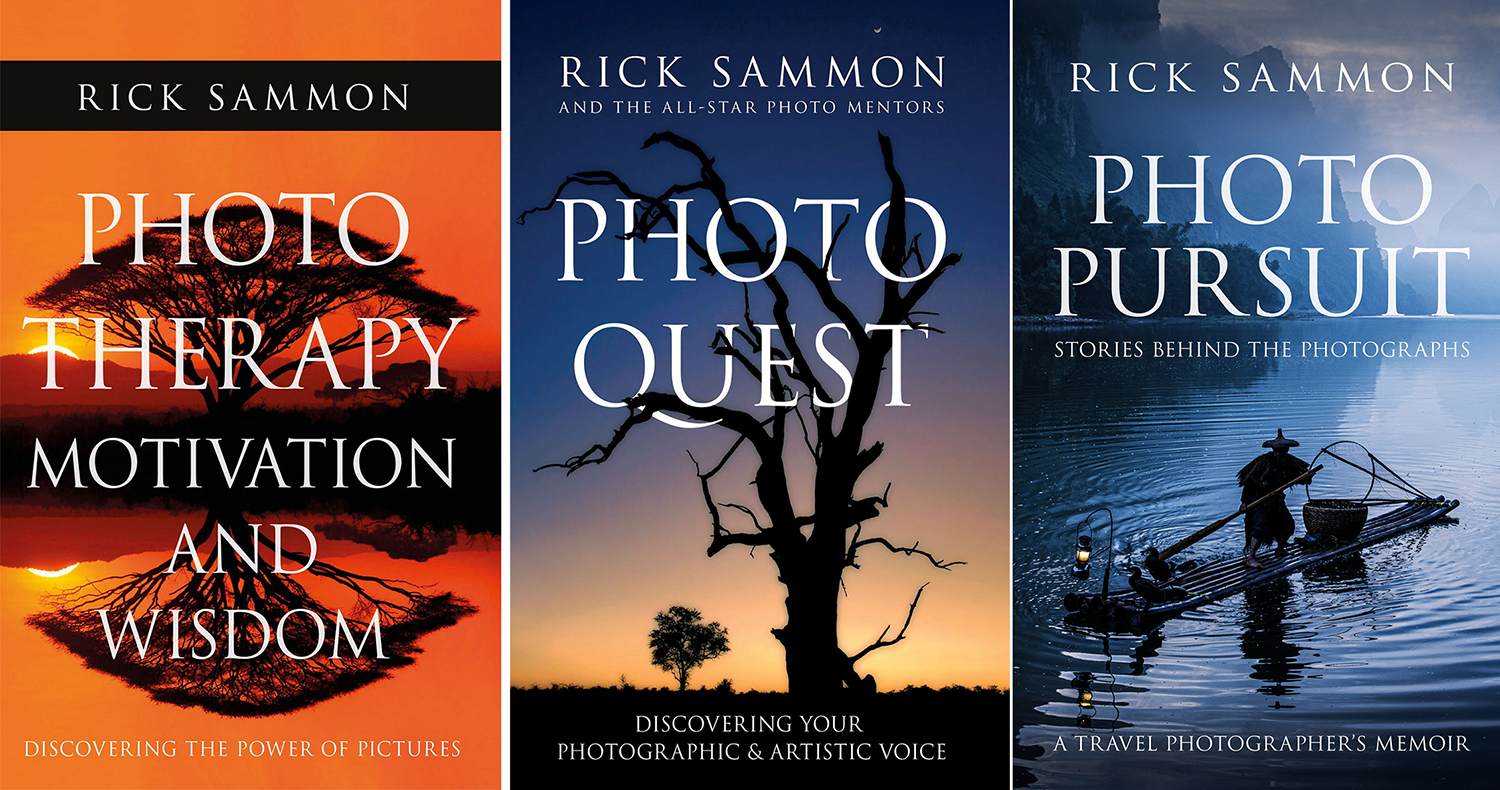
Want even more tips? Check out my latest books!
Explore the light,
Rick