Check out these images from my 2015 Bosque del Apache photo workshop.
Read MoreStill in Love with The Still - and Digital SLR

Birds in flight
Check out these images from my 2015 Bosque del Apache photo workshop.
Read MoreIt's Day 4 in my series here on my blog: 5 Days of Bosque del Apache Images and Tips. I'm running this series in preparation for my 2015 Bosque workshop (which is full) and my 2016 Bosque workshop. Click here to see all my 2016 workshops.
Feel free to drag my images into Bridge or Lightroom for Metadata.
Today's Tip: Be Prepared – for photo ops and other photographers
Opening image: That’s my friend, and co-leader of my Bosque workshop, Chris Klapheke, owner of OutdoorPhotoGear.com in the foreground of this photograph. He’s at a viewing deck on the North Loop – the most popular loop for The Blast Off. It’s a good place from which to shoot – but you can find other locations before and after the deck on the South Loop. You want to be in a position to photograph the largest number of birds in one location – which can change from day to day.
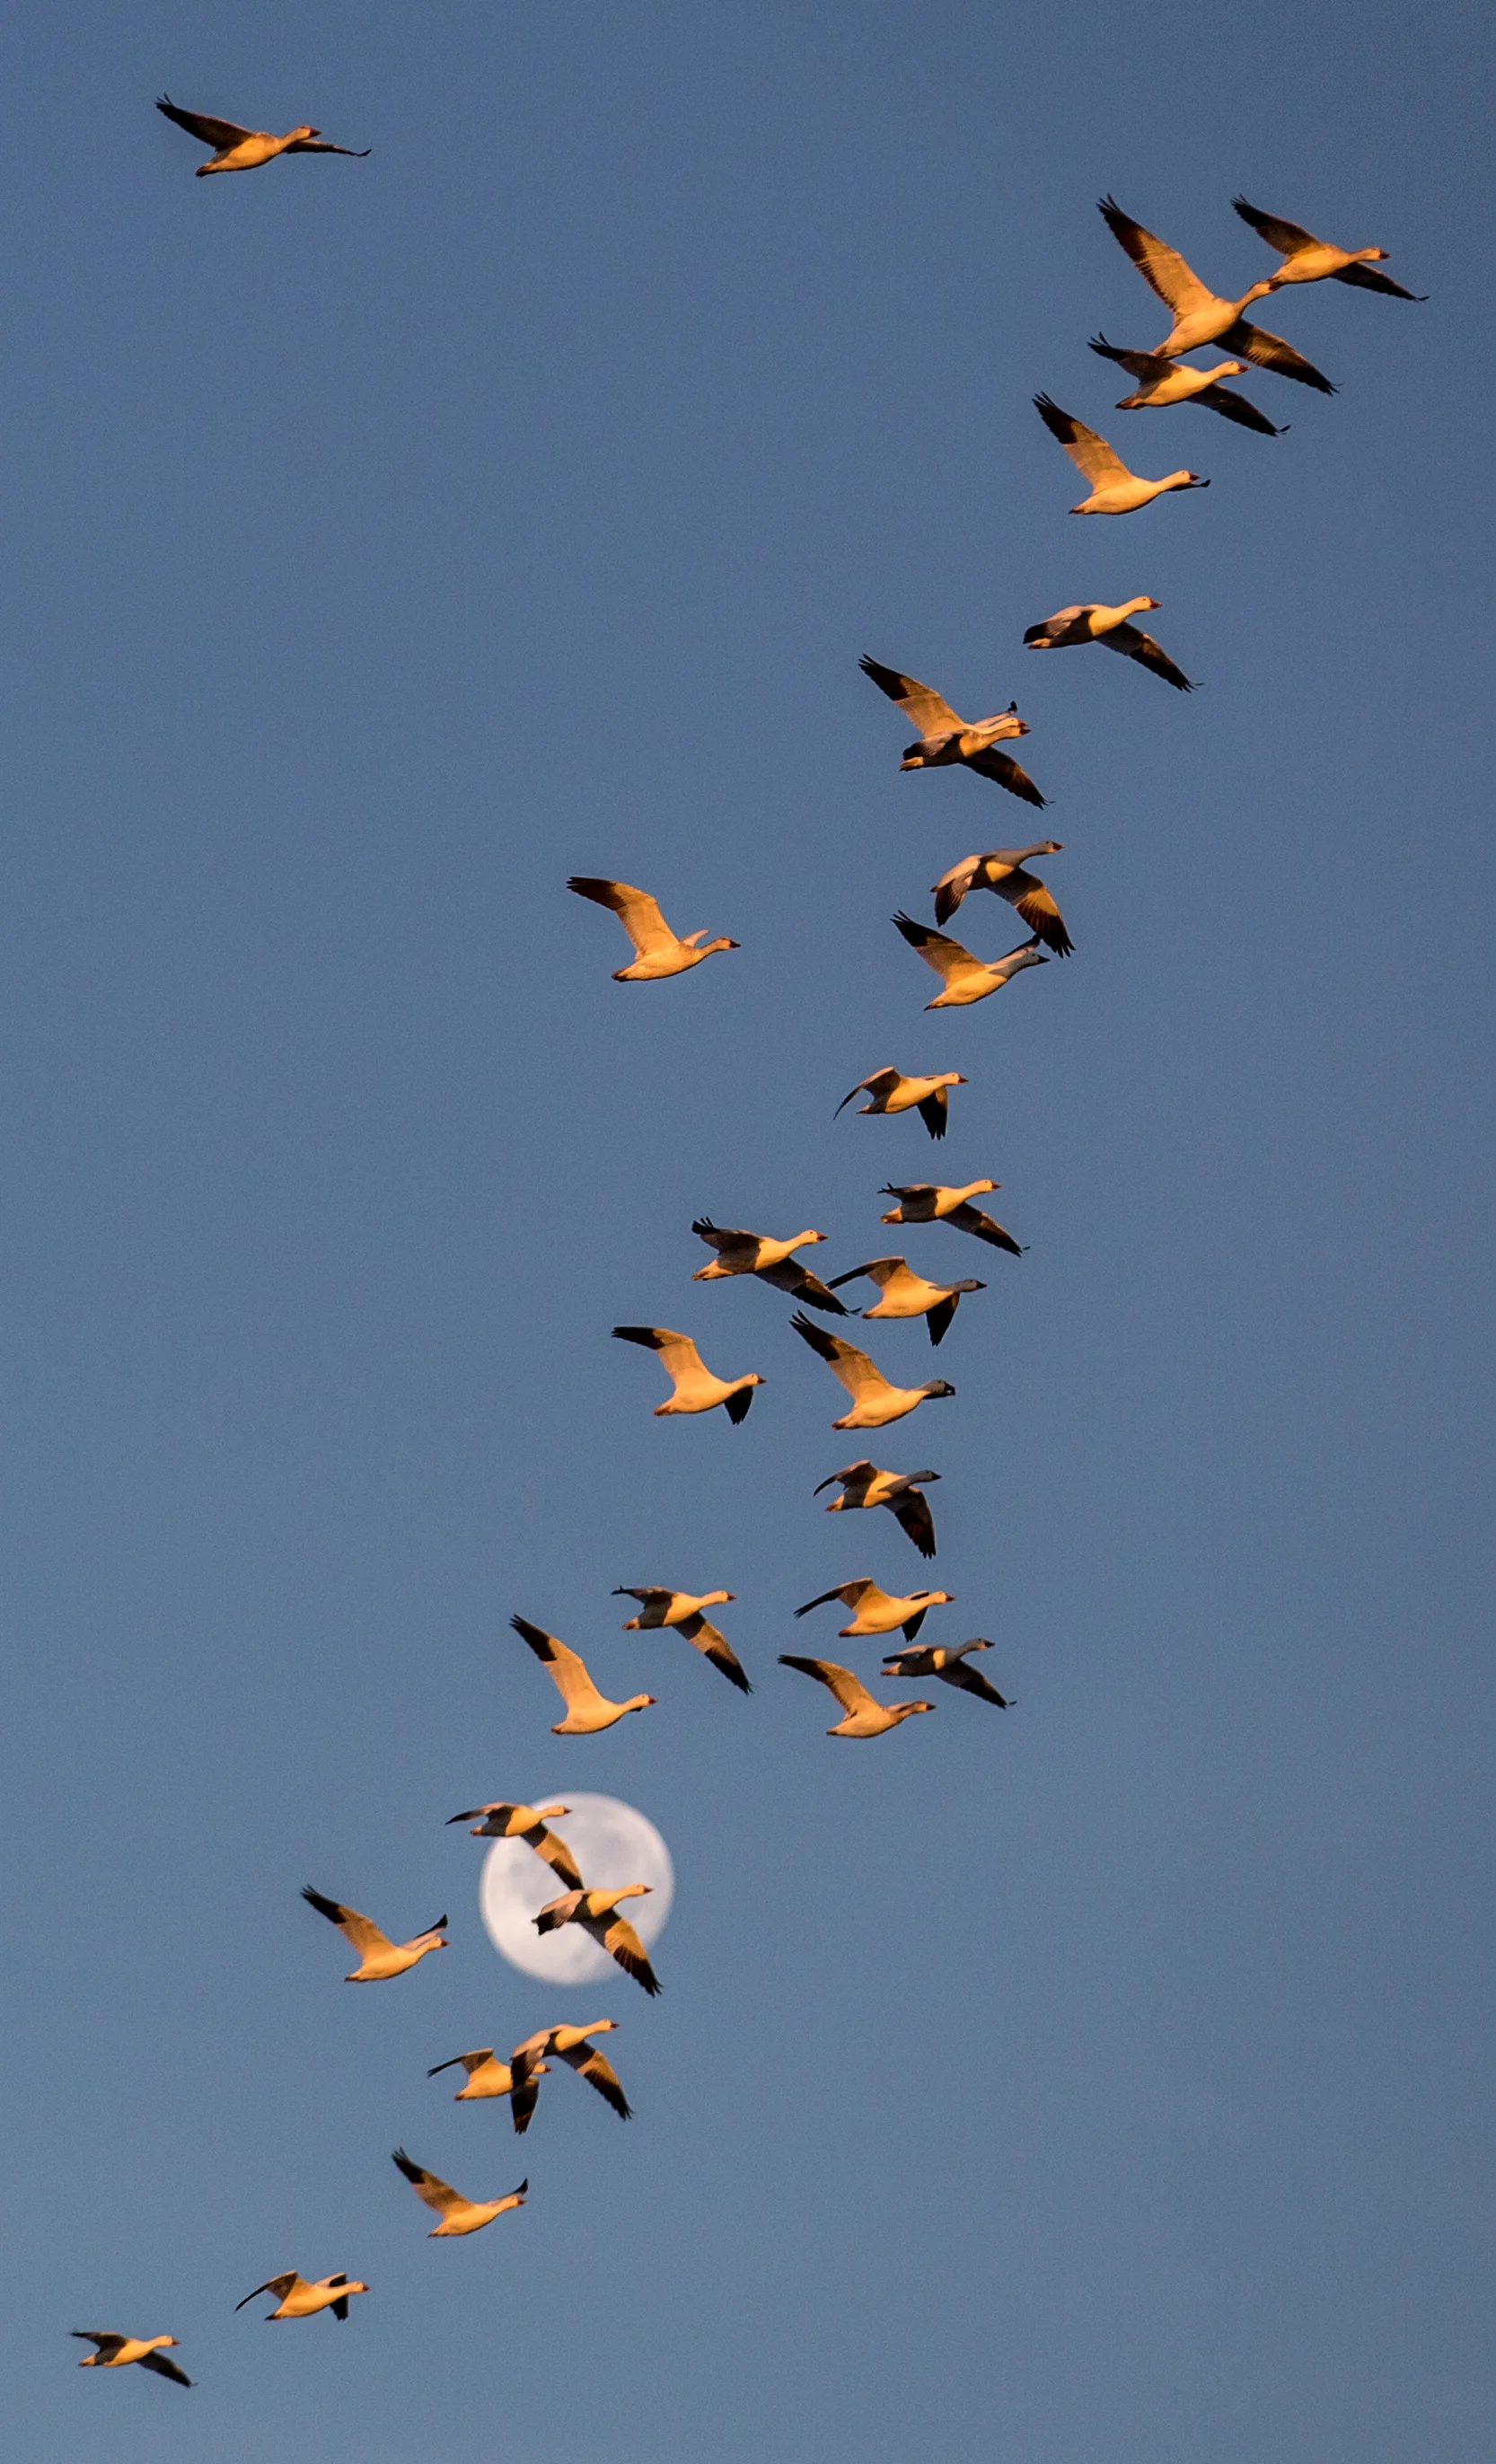
Always look up, down and back. I took this photograph shortly after The Blast Off at a point along the Northern Loop.
When photographing action scenes like this, make sure your camera is set on the fastest possible frame rate.
As always, expose for the highlights, the moon in this case. Always check your histogram and highlight alert. I can’t stress that enough.
After The Blast Off, head off to the two Crane Pools, which are on the right side of the road as you go into the Refuge, and on the left side as you go out. That's Juan Pons, co-host of our DPE Podcast, truckin' down the road with his camera and tripod.
For the best light, shoot here in the early morning and late afternoon.
Be prepared to shoot alongside of other photographers, which is the norm in Bosque.
Here’s a late afternoon shot from one of the Crane Pools. Usually, one pool has more birds than the other, so check them both (via drive by) before you get out of your car and set up your gear. You’ll most likely see hundreds of birds taking off and landing. Sure, close-ups shots are nice, but also take the wide-angle shots, which capture the incredible number of birds in one location. Shoot at a small aperture to get all the birds in focus.
I know I have said this before but it’s worth repeating, especially when shooting white subjects against a dark background: exposure for the highlights.
If the highlights are a bit overexposed, use the Shadow/Highlight slider to recover them. Adjusting the Exposure and Whites can also help, but as always, try to get it right in camera.
As with The Blast Off, be prepared for a late afternoon mini-Blast Off.
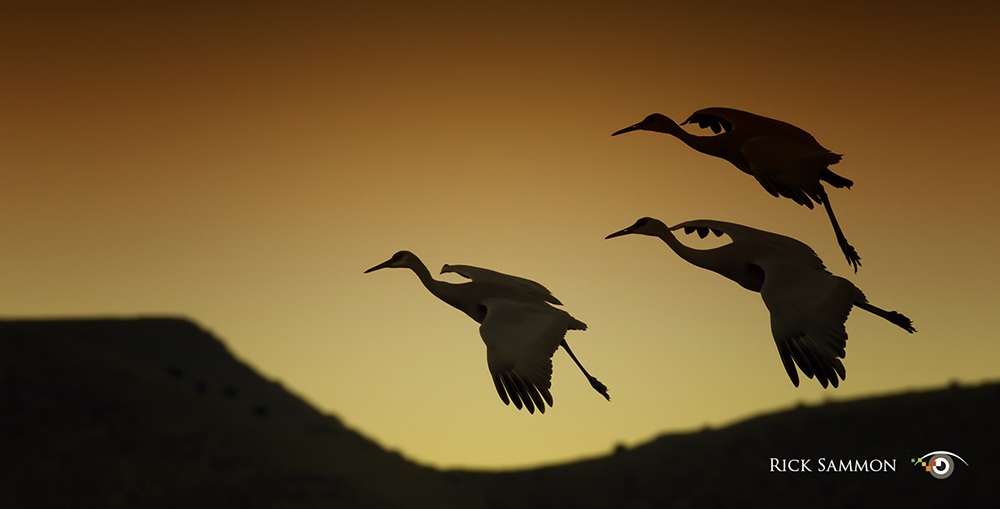
In wildlife photography, if the subject’s eyes are not well lit and in sharp focus, I feel that you missed the shot – in most cases.
I shoot all of my outdoor pictures (except my HDR images) in the Av mode. I pay careful attention to depth of field, and select an aperture accordingly. Here, I wanted both sandhill cranes in sharp focus. My focal length setting and aperture let me achieve my goal.
In Photoshop, I selectively sharpened the bird’s faces, and selectively blurred the background.
To add an artistic touch to this image, I used Topaz Impression, one of my favorite plug-ins. Learn more about plug-ins on my Save on Plug-ins page.
See you here tomorrow with the final post in this series. And, Chris and I hope to see you in Bosque in 2016.
For detailed information on photographing birds, check out my on-line class: Master the Art and Craft of Bird Photography.
Explore the light,
Rick
What's new? My 36th book: Creative Visualization for Photographers.
As an instructor, I try to give as many tips as possible for getting good shots of a single subject.
Here's an example for bird photography: one photo - ten quick tips. You will find more detailed tips in my KelbyOne on-line class, Breathtaking Bird Photography. Info on this page.
1 - Expose for the highlights - shoot with your highlight alert and histogram activated.
2 - Look for separation - isolate the subjects in a scene.
3 - Focus - make sure the eye is in sharp focus.
4 - See the light - make sure the eyes are well lit.
5 - Use the AI Servo (focus tracking) mode - this mode tracks moving subjects for sharp shots.
6 - Set your shutter - for birds-in-flight photos, use a shutter speed of at least 1/1000th sec. For swimming bird photos, use a shutter speed of at least 1/250th sec.
7 - Pay attention to your aperture - make sure what you want in focus is in focus.
8 - Sharpen selectively - don't sharpen the entire image. Sharpen only the main subject (s) in your photograph.
9 - Crop creatively - crop out boring areas of the scene.
10 - Know your subject - knowing/understanding animal behavior will help you get great shots.
Explore the light,
Rick