Dead Horse Point State Park, Utah.
Susan and I are heading out next week for another awesome road trip, where we’ll be exploring Utah’s State and National Parks. Photos to come.
For now, I thought I’d share with you “what’s in my carry-on bag” to give you an idea of the gear I use for landscape photography - and why. Here goes.
Canon R (mirrorless) with new 24-105mm IS lens - my new “go to” camera/lens for travel photography.
Canon R lens adapter ring - so I can use all my Canon lenses on the R.
Canon 5D Mark IV - for shooting videos and stills.
Canon 16-35mm lens - my main landscape lens.
Canon 24-105mm IS lens - for tighter landscape shots.
Two Canon battery chargers and a total of four batteries, so I always have power.
Really Right Stuff ball head - in case my luggage is delayed, I can buy a tripod on site and still use my RRS ball head. I never lose site of my ball head. I do pack my tripod in my checked luggage.
Delkin Devices SD and Compact Flash cards/card reader - to safeguard my photographs.
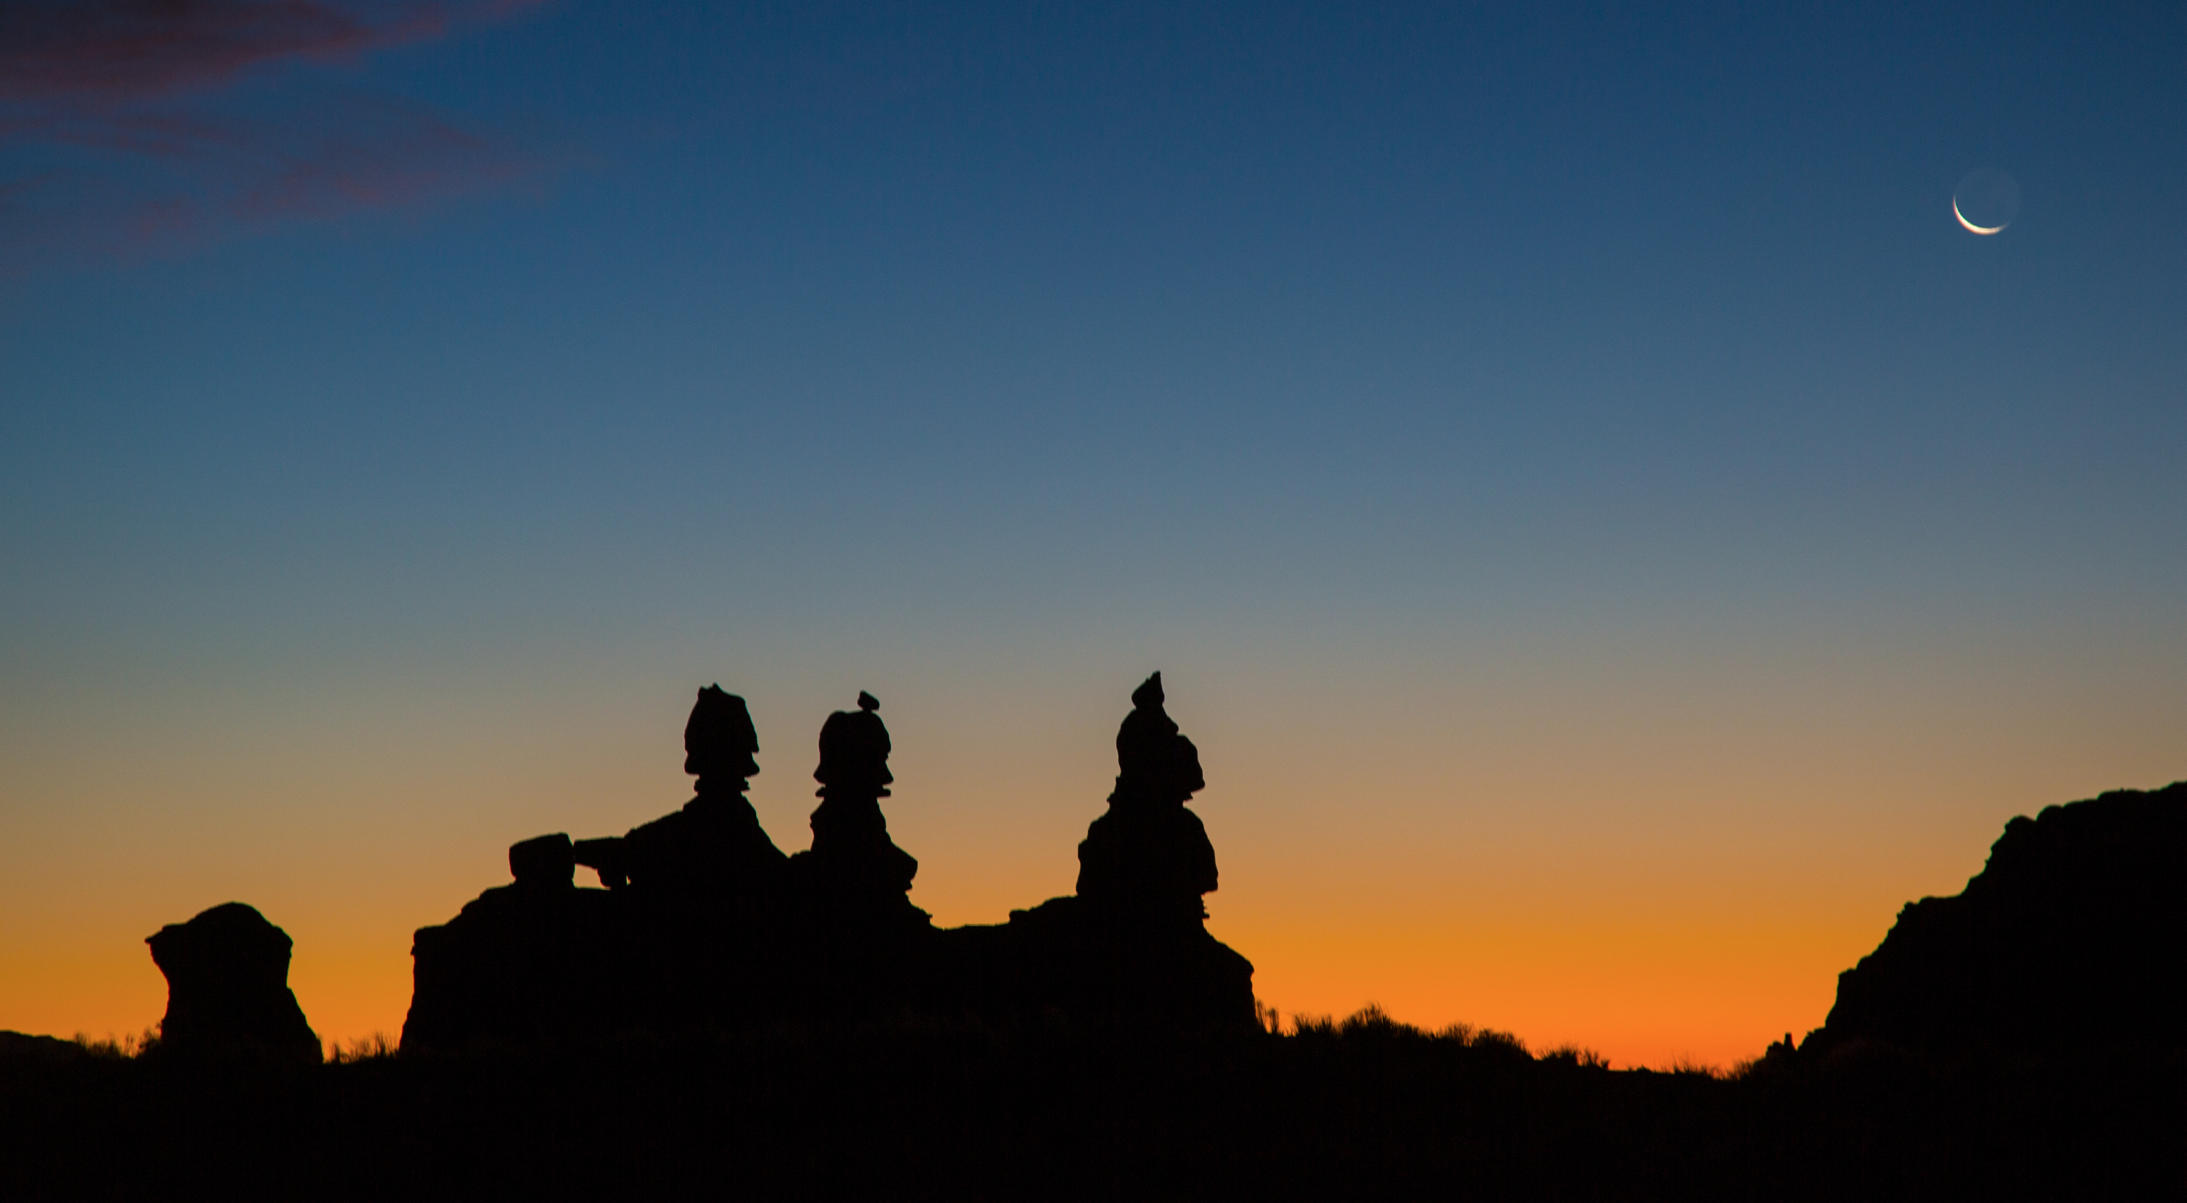
Goblin Valley State Park, UT.
Black Rapid strap - for easy camera handling when I am not using my tripod.
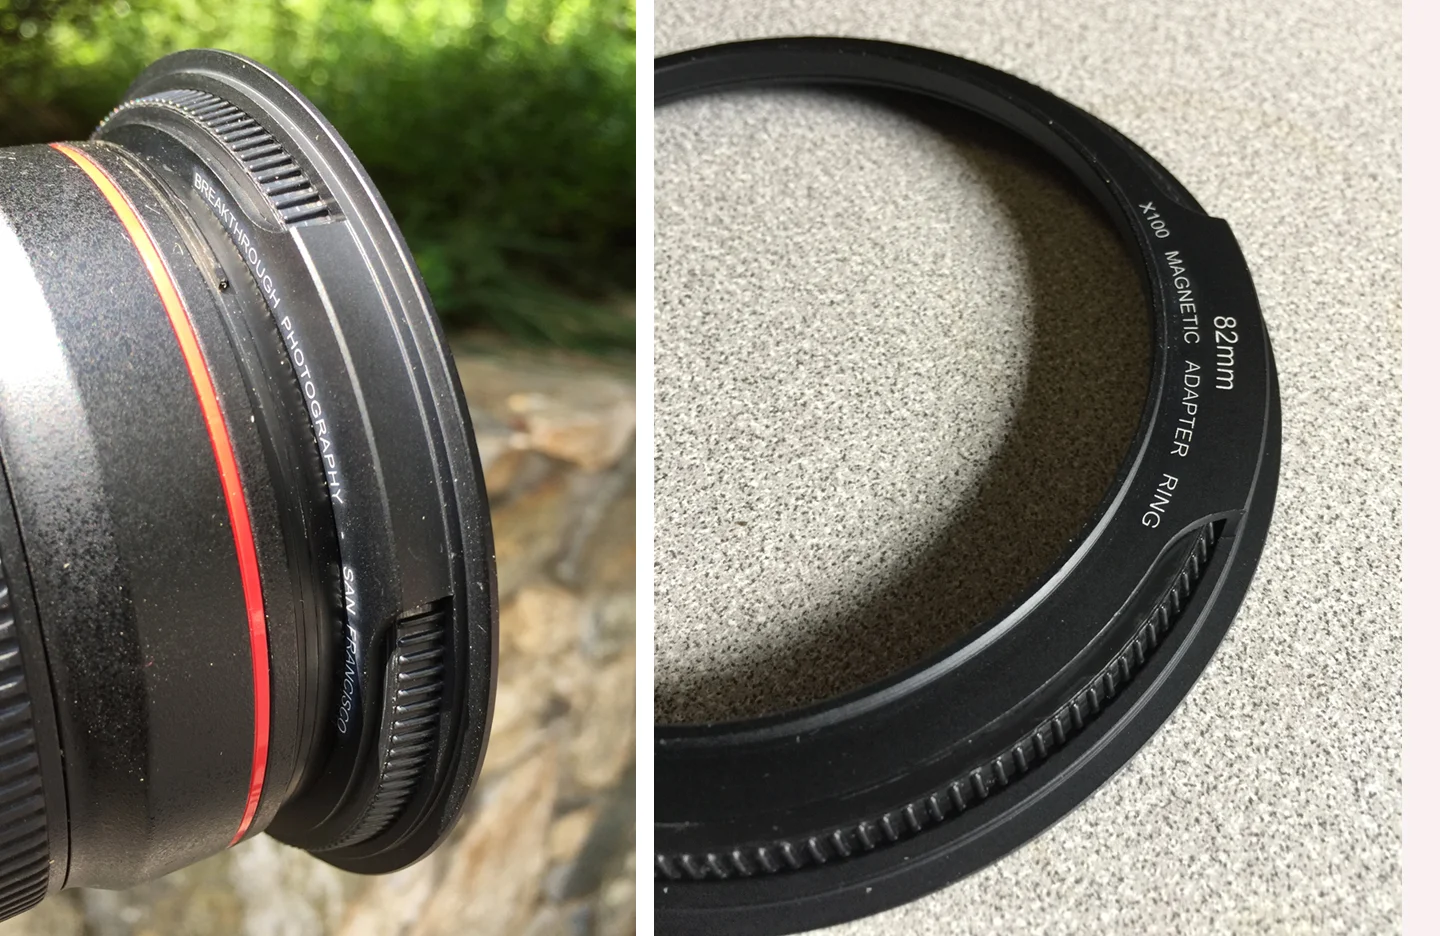
Breakthough Photography magnetic ND and polarizing filters - for long exposures and to reduce glare/darken a blue sky.
Two head-mounted flashlights - one for me, one for Susan.
Canon G7 X - for fun shots along the road.
Allen wrenches - for tightening my tripod legs and camera plates.
Platypod - for low-level, creative shooting.
Blower to keep my sensors clean - and lens cleaning cloths to keep my lenses clean.
I have another bag for my computer stuff. So I have a total of two carry-on bags.
All this gear fits in my Backlight 26L MindShift camera bag, shown above.

For great deals on gear, check out Adorama - more than a camera store.
All my gear is listed here.

Needs some tips on travel photography? Check out my KelbyOne classes.
Explore the light,
Rick