Evolution of an Image: Black Bear Encounter in Yellowstone

"Hey Swapan, can you grab a photo with your iPhone of those people on the other side of the road who are too close to that bear?"

That's what I asked my new friend Swapan Jha – while our 2016 Yellowstone photo workshop group stood on the opposite side of the road photographing a black bear (circled below).

Swapan, a.k.a. The Raven, took a quick shot for me, which I knew I wanted to use in this blog post, and perhaps in a future book or seminar.

My idea: illustrate how a quck snapshot can be turned into a great shot, illustrated by the opening image for this post and the original image below, taken with my Canon 5Ds and Canon 100-400mm IS lens.

Swapan's photo also captures part of the bear-jam along the road. People went nuts trying to grab a photo. We even heard that a car fell off the road and into a ditch during this photo session. By the way, our vans were parked about 600 yards down the road to the left of where and I took our shots.

Before I go though my enhancements, the Canon 5Ds has a 50 megapixel sensor, giving photographers giant files from which they can make nice enlargements even when cropping in on an image.

The 5Ds also offer low noise at high ISO settings. Due to the relatively low light, I set my ISO to 6400 for this hand-held shot.

Here my are Lightroom enhancements:
• fairly tight crop;
• reduced highlights and opened shadows;
• increased Clarity;
• lightened the eyes.

In Nik Color Efex Pro, I used Tonal Contrast and then Darken/Lighten center to give the image impact.

What "makes" the picture for me, as is often the case in wildlife photography, is "gesture." In this case, the black bear's legs (taking a step) and the look on his face. Gesture also "makes" the photo below of a mommy polar bear and her cubs, which I took in Churchill, Canada.

So: think gesture!

Gesture also "makes" the image below on the right, taken on the Mara, which is featured in my next (and 37th) book.

That's a super quick look at the evolution of my black bear image. In my next book, available October 5, I go into great detail for each image - from start to finish, including Lightroom enhancements.

Evolution of an Image is a follow-up to my best selling book, Creative Visualization for Photographers. I recommend that you read that book first, because it's more about getting the very best in-camera image.

Thank you again, Swapan - the Raven . . . and a very cool raven indeed!

Explore the light,
Rick

P.S. All the images in my books are recorded on Lexar memory cards.

Landscape Photography - analyze this

Above is a favorite Iceland image that I made in July with my Canon 5D Mark IV (pre-production model) and Canon 17-40mm lens – mounted on my Really Right Stuff tripod with RRS ball head.

The image, with excellent detail in the both the shadow and highlight areas (thanks to the dynamic range of the 30.4 mega pixel image sensor), illustrates several basic - and important - photographic techniques, illustrated by the marked-up image below . . . which I composed using Live View (which I recommend to all my photo workshop students).

But first, take the time to analyze your images. The process will help you determine which are your very best photographs. Try it, you'll like it . . . I promise you.

1) The black line shows the movement of the water running through the image.

2) The corner-to-corner white arrow shows that everything in the scene is in sharp focus, a goal I try to achieve in all my landscape images. For max depth-of -field, use a wide-angle lens, small aperture and focus 1/3 into the frame. You can use the touch screen to focus!

3) The circles on the intersecting lines of the tic-tac-toe grid illustrate the "rule of thirds" composition technique. The two waterfalls are the main subjects.

4) The open area at the top of the frame illustrates breathing room.

5) The letter "E" is placed over the brightest part of the image. The tip here: expose for the highlights (by checking your histogram and highlight alert).

The image also illustrates an important tip for waterfall photography: Experiment with slow shutter speeds to get the desired effect - the degree to which YOU want the water blurred. Here I used a 1.3 second shutter speed.

For more on composition and exposure, see my latest book: Creative Visualization for Photographers.

Hey, if you are in the Costa Mesa, CA area on October 6, I hope you can come to my landscape and seascape photography seminar at the Canon Live Learning Center. Click here for info.

Explore the light,
Rick

P.S. FYI: the new Canon 5D Mark IV camera has a built-in GPS, so I can easily find this exact location when I return to Iceland. The full touch screen is also very cool. And, for photographing in Iceland, the improved weather sealing is most welcome!

It's "Hey Rick, What's your f-stop?" Friday #7

Hey Rick! What's your f-stop?" That's the question I get asked most on my photo workshops. I reply, with a smile, "My friend. What is your creative vision, what is your goal?" Those are the important question for photographers to ask themselves.

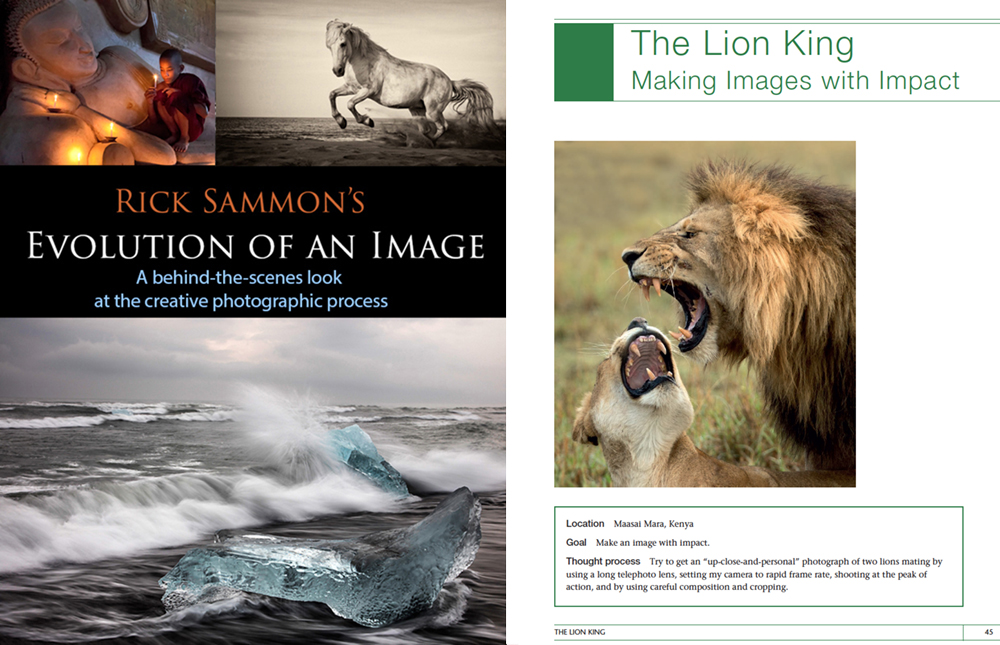
In this blog series I will share with you my goal and camera settings for some of my favorite recent photographs, which will be featured in my next (#37) book, Evolution of an Image (September 2016 publication). Each chapter, by the way, has complete and detailed info about the lead photograph, as well as my outtakes and unexpected shots. Detailed Lightroom screen shots are also included in every chapter.

Here goes.

Location:  Black beach opposite the Jokusarlon Glacier Lagoon, Iceland.

Goal: Convey the beauty of the grounded icebergs – gems of frozen water – framed by the slow and graceful moving surf and positioned against a background of powerful, crashing waves.

Thought process: Compose a scene that includes the icebergs, the beach, the waves and the sky. Experiment with different slow shutter speeds, from 1/60th second to several seconds, to convey the power and beauty of nature.

I took dozens of photographs of the same scene, from a single position that morning on the beach. This image is my favorite shot for several reasons, the most important being the mood and feeling of the image, created by overcast sky, beautiful jewels of ice and the movement of the waves.

I also like the movement of the incoming waves on the beach and the burst of water on the iceberg in the background. I also like the way the foreground iceberg frames the background iceberg.

Tech Info
Camera: Canon EOS 5Ds
Lens: Canon 24-105mm IS lens.
Filter: Tiffen 0.9 ND filter.
Tripod: Really Right Stuff tripod and Really Right Stuff ball head.

Camera settings: 
• Manual focus – to maintain sharp because moving waves could change the focus setting, as well as slow down the auto focus process;
• Rapid frame advance ­­– to capture the subtle differences in the flow and position of the waves;
• ISO 100 – for shooting at long shutter speeds, f/20 – for good depth-of-field), 1/6th second – to blur the movement of the water. EV -0.67 – to prevent highlights from being washed out.

For more tips, tricks and techniques, see my current best-selling book, Creative Visualization for Photographers. Also check out my KelbyOne on-line classes.

Explore the light,
Rick

All the images in my books are recorded on Lexar cards. Click the image above for details.

It's "Hey Rick, What's your f-stop?" Friday #6

Hey Rick! What's your f-stop?" That's the question I get asked most on my photo workshops. I reply, with a smile, "My friend. What is your creative vision, what is your goal?" Those are the important question for photographers to ask themselves.

In this blog series I will share with you my goal and camera settings for some of my favorite recent photographs, which will be featured in my next (#37) book, Evolution of an Image (September 2016 publication). Each chapter, by the way, has complete and detailed info about the lead photographs, as well as my outtakes and unexpected shots.

Here goes.

Location: Wonder Bar, Casper, Wyoming

Goal: Make a fun and creative image that capture the mood, feeling and uniqueness of the world famous Wonder Bar.

Thought process: Arrange the models and the horse with separation between the faces – that is, each subject’s face (including the horse’s face) being separated from the other. Use one large constant light, positioned by the bar’s main window, to help illuminate the subjects. Balance the artificial light to the daylight (coming through a large window) for a natural-looking photograph.

Tech Info
Camera: Canon 5D Mark III
Lens:  Canon 17-40mm lens
Camera settings:
• Auto focus – because the subjects and I were moving;
• ISO 6400 – because it was dark in the Wonder Bar and I need good depth-of-field and a shutter speed fast enough to prevent camera shake, 1/160th second – for a sharp shot, f/5.6 – for good depth-of-field.

For more tips, tricks and techniques, see my current best-selling book, Creative Visualization for Photographers. Also check out my KelbyOne on-line classes.

Explore the light,
Rick


All the images in my books are recorded on Lexar cards. Click the image above for details.