The Allure of Antarctica - Photographing at the Bottom of the World with A&K

Screen Shot 2019-05-01 at 8.54.03 AM.png

“Where’s your favorite place on the planet to photograph?” That’s the question I get asked most whenever I am sharing my travel photographs at a seminar. I respond, “Well, having photographed in more than 100 countries, making pictures for my 38 books and 18 on-line classes, I must say Antarctica, which for me includes Antarctica, South Georgia and the Falklands Islands.”

I go on to explain why I, as well as many of my professional photographer friends, feel this way.

In this post I’ll share with you those reasons, illustrated with some of my favorite photographs that I have taken in Antarctica on two recent Abercrombie & Kent expeditions (during which I was a Photo Enrichment Coach).

Before we get going, this is not a photo how-to post. For photo tips, click here.

Okay! Let’s go!

he Blue Ice - As illustrated in the opening photograph for this post, the blue ice – the color and formations – is simply magical to see and to photograph – especially when the backdrop is a majestic, snow-covered mountain range that seems to go on forever.

Screen Shot 2019-05-01 at 8.54.26 AM.png

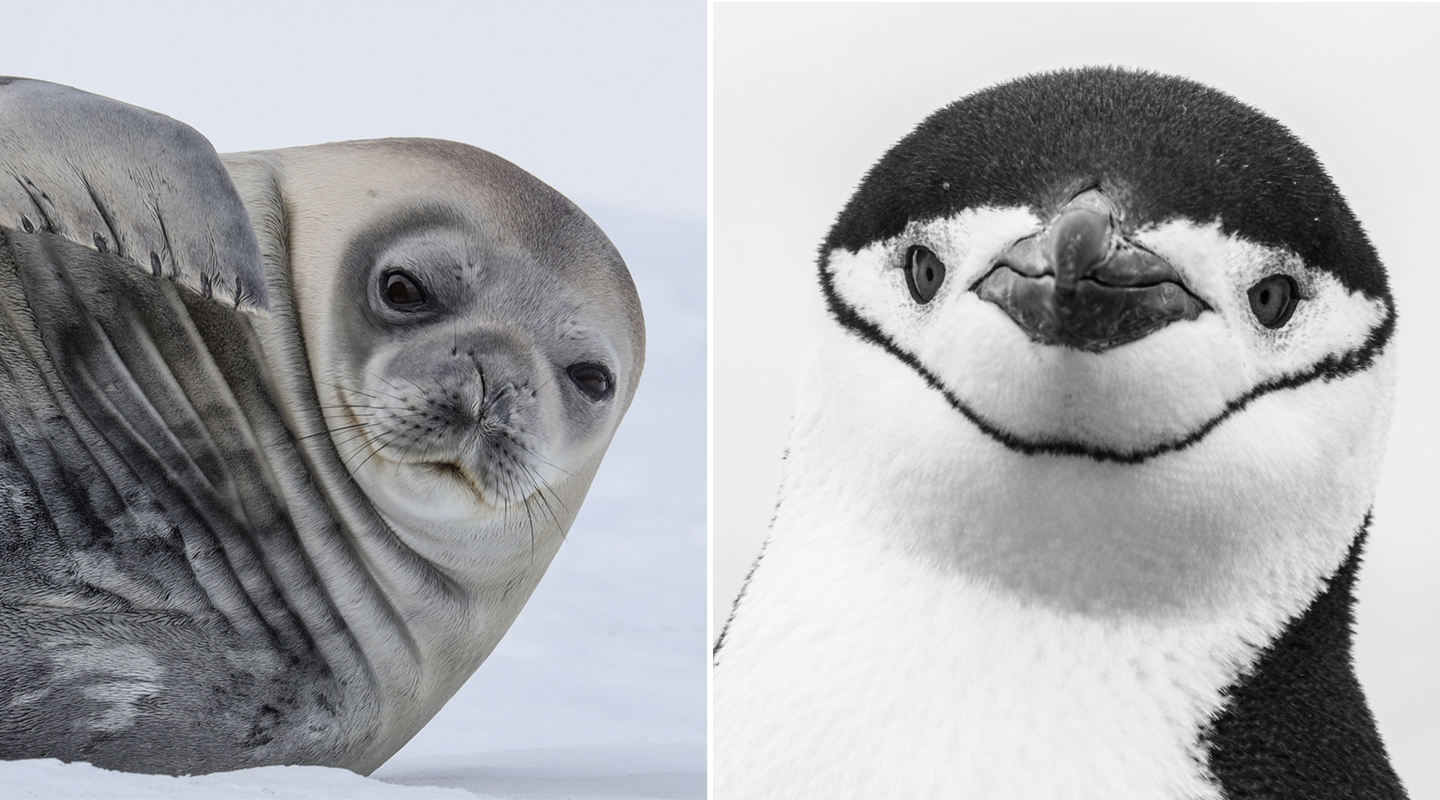
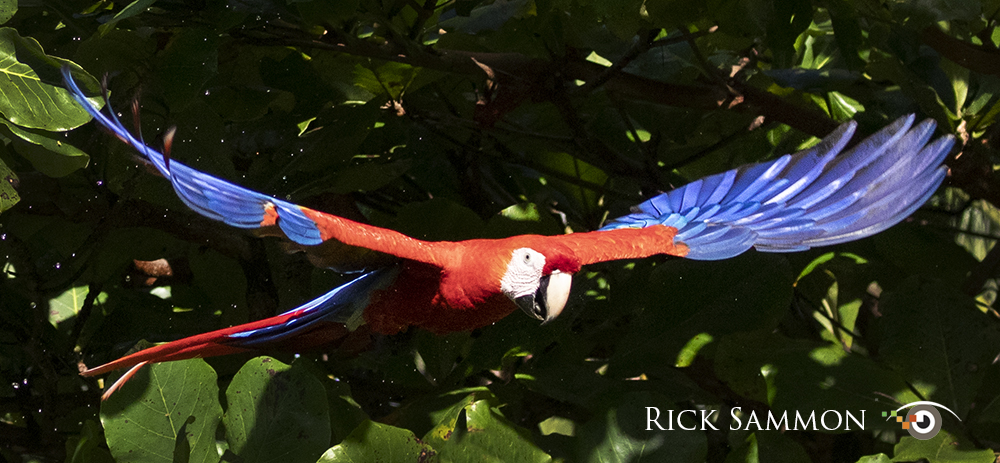
Wildlife – The wildlife is abundant, captivating, easily accessible and . . . . can be very cute! Because the animals are not hunted (same in Galapagos), they are not afraid of humans - so you can get cool close-ups shots of nearby subjects. NOTE: In Antarctica, the rule is that you can’t move in closer than 15 feet to an animal, but that does not mean the animals can’t come close to you. Read on!

Up-Close-and-Personal Shots – See what I mean about the animals getting close! These penguins were only a few feet away from me when I took this photograph with my fish-eye lens. I think they wanted to meet me as much as I wanted to photograph them.

Screen Shot 2019-05-01 at 8.53.45 AM.png

Zodiac Tours – For me, the zodiac tours are a favorite activity. The inflatable boats, driven by expert naturalists, get photographers into the best position for the best photographs.

00005Rick Sammon .jpg

A&K Ship - We were based on Le Lyrial for my Antarctica expeditions. It’s the same ship I’ll be on for my 2020 expedition – and I hope you can join the photo fun. Not only is the ship super comfortable, but it has stabilizers which steady the ship in rough seas. Oh yeah, the food is excellent and the internet is relatively fast. For photographers with camera gear, getting off and on the ship into the zodiacs is easy from the water-level deck at the back of the ship.

room.jpg

Perfect Place to Process Images – After a zodiac tour or a landing, the cabins on Le Lyrial are the perfect place to process your images. The view isn’t bad either!

Rick Sammon 16.jpg

Love the Landings – Once you make a landing, you are often “greeted” by local residents. You can stick with a naturalist to learn about the wildlife and geology - and about climate change – or you can go off on your own (staying in designated safe areas). What I love about the way the A&K landings are set up is that even with 100 people on shore (the average/max with all operators), you can get great “alone-with-nature” pictures – and get that very special feeling, too.

Screen Shot 2019-05-01 at 8.52.31 AM.png

High Percentage of “Keepers” – Due to the abundance of wildlife, pros find that they come home with a very high percentage of “keepers.” The only challenge is going through countless images to find those very best images.

final group.jpg

Learning – Here you see the team of awesome experts on my first A&K Antarctica expedition. That’s Susan Sammon, bottom row, third from the left. On this trip Susan taught smartphone photography - which was a big hit with the guests. We learned form the naturalists, geologists, marine mammal and bird experts, and of course the climate change scientists. The knowledge that we gained not only added to the on-site experience, but it makes sharing our pictures and stories more interesting.

00013Rick Sammon .jpg

I began this post with a photograph of blue ice, and I’ll end with another. Seeing scenes like these in person - and capturing them with our cameras – is an experience that is hard to describe. You simply must go to Antarctica . . . and see why it’s the favorite place to photograph for many pros.

Summing up: For those dreaming of genuine adventure, Antarctica has long been considered the last frontier. This pristine landscape of mountains and glaciers remains largely untouched by civilization, placing it at the top of many photographers’ lists of “places to go next.” The very elements that make Antarctica a dream destination for photographers – pristine snow and ice contrasting with the sea and sky, the abundant wildlife and seabirds in constant motion – make it the ultimate challenge for photographers.

I’d like to leave you with this short movie that I feel captures the beauty and feeling of Antarctica.

20 Tips for Home Studio Portraits

rick for web.jpg

Guest Post by Ann Marie DiLorenzo

 At the Canon booth at the 2018 Photo Plus show in NYC, Rick Sammon promised the audience that he’d give at least 10 tips during his presentation. Well, Rick actually gave 20 tips. Here they are!

Note: For the portraits in this post, Rick used a Canon speedlite in a Westcott Apollo Soft Box.

1) When you think you need 2 lights, use 1 light. When you think you need 3, use 2. (A Frank Doorhof quote)

Shadows.jpg

2) Be aware of other lighting in the room; you want your speedites lights to be the main source of light.


3) Umbrella spreads light evenly; soft box allows you to control and shape the light. 

4) If you want an interesting portrait, don’t light the subject’s entire face. 

5) For a portrait with few shadows on your subject’s face, you want the subject’s nose to follow the light; have their nose face the lighting source.  

6) The size of a subject’s pupils affects our impression of the subject. The advantage of using a speed light is that the pupil doesn’t have time to close down, making the photo more inviting. 

7) Never touch the model. 

8) The larger the light source, the softer the light. The closer the light source is to the subject, the softer the light.  For a soft constant light source, check out this Westcott lighting kit.

9) In lighting, inches matter. 

10) Shadows are the souls of the picture. 

11) Never underestimate the value of a good model.  

12) Use your camera like a drone - move the camera up and down to effect the viewer’s perception of the subject. If you move the camera down lower, the model has you get a greater sense of power. 

13) When looking through the viewfinder or at your LCD monitor, use border patrol - look at the boundaries of the photo and make sure what you want is in, or not in, the 
frame. 

14) Don’t amputate the subjects at the joints.  

15) Name of the game is to fill the frame. Fill the frame with the subject.

Rick for Web 2.jpg

16) The background can make or break the shot. 

17) Most important thing in a photo is the mood/feeling. Backgrounds create moods. 

18) Dead center is deadly. If you place the subject in the center of the frame, the viewer’s eye gets stuck on the subject and doesn’t look at other things in the photo. 

19) Use gels over the light source (speed light)  - red or blue to create an effect. 

20) Focus on the subject’s eyes in a portrait.

• • • • •

Want more tips on home studio portraits? Check out Rick’s KelbyOne on-line classes.

Gearin' Up for My Utah National & State Parks Road Trip

Dead Horse Point State Park, Utah.

Dead Horse Point State Park, Utah.

Susan and I are heading out next week for another awesome road trip, where we’ll be exploring Utah’s State and National Parks. Photos to come.

For now, I thought I’d share with you “what’s in my carry-on bag” to give you an idea of the gear I use for landscape photography - and why. Here goes.

Canon R (mirrorless) with new 24-105mm IS lens - my new “go to” camera/lens for travel photography.

Canon R lens adapter ring - so I can use all my Canon lenses on the R.

Canon 5D Mark IV - for shooting videos and stills.

Canon 16-35mm lens - my main landscape lens.

Canon 24-105mm IS lens - for tighter landscape shots.

Two Canon battery chargers and a total of four batteries, so I always have power.

Really Right Stuff ball head - in case my luggage is delayed, I can buy a tripod on site and still use my RRS ball head. I never lose site of my ball head. I do pack my tripod in my checked luggage.

Delkin Devices SD and Compact Flash cards/card reader - to safeguard my photographs.

Goblin Valley State Park, UT.

Goblin Valley State Park, UT.

Black Rapid strap - for easy camera handling when I am not using my tripod.

Breakthough Photography magnetic ND and polarizing filters - for long exposures and to reduce glare/darken a blue sky.

Two head-mounted flashlights - one for me, one for Susan.

Canon G7 X - for fun shots along the road.

Allen wrenches - for tightening my tripod legs and camera plates.

Platypod - for low-level, creative shooting.

Blower to keep my sensors clean - and lens cleaning cloths to keep my lenses clean.

I have another bag for my computer stuff. So I have a total of two carry-on bags.

All this gear fits in my Backlight 26L MindShift camera bag, shown above.

For great deals on gear, check out Adorama - more than a camera store.

All my gear is listed here.

Needs some tips on travel photography? Check out my KelbyOne classes.

Explore the light,
Rick

2019 Costa Rica Photo Workshop with Rick

Screen Shot 2018-11-07 at 4.33.56 PM.png

If you love wildlife and nature photography, the rain forest and sea - and processing your images – my December 2019 Costa Rica photo workshop is for you. Here's the info.

Location: Crocodile Bay – Five full days of photography!

Dates:

December 2 - Arrive in San Jose for Welcome Dinner (not included in price).

Dec 3 - Morning flight o Crocodile Bay - workshop begins in the afternoon.

Dec 4 to 7 - Full Day Workshop. Small group (10).

December 8 - Optional sunrise shoot and then depart to San Jose. You may be able to make a connection back to your home city the same day. If not, you can stay overnight at the group hotel.

Our travel agent - reservations@crocodilebay.com - will help you with your local air/hotel/airport transfers, etc.

www.crocodilebay.com

rick 2  copy.jpg

Limit: 10 participants for personal instructions by Rick.

Photo Ops: Click here to see the kind of pictures you will make.

• Close up day and night shoots of rain forest animals: poison dart frogs, red-eye tree frogs and butterflies. Local experts will find these animals in

• Telephoto shots of birds, monkeys, sloths, vipers, reptiles, flowers, plants and amphibians.

Photo Processing 

• Daily processing sessions, group slide show.

Optional Activities

Fishing, boating, swimming and relaxing.

Each photographer receives in their goodie bag:

Black Rapid Strap ($75 value).
Adorama Gift Certificate ($50 value). For US residence only.
• Delkin Devices SD Advantage 32GB Memory Card ($18 value).
• Adorama Pix Gift Certificate ($25 value). For US residence only.
• Rick’s 1-hour on-line class, Master Landscape & Seascape Photography ($20 value).
• Discount code for $20 from Platypod.

Goodie bag total: $200+

rick take you there.jpg

Workshop/Lodging Cost:

 • Double Occupancy- $4,152 (Includes; All food and non-alcoholic drinks, San Jose Travel Pack* and below tour list)

 • Single Occupancy- $4,717 (Includes; All food and non-alcoholic drinks, San Jose Travel Pack* and below tour list)

rick sammon 1 copy.jpg

 • Tag Along- $2,200  (Includes; All food and non-alcoholic drinks, San Jose Travel Pack, and client must stay in room of guest paying single Occupancy Rate. No tours included, so family member not participating in photo workshop may “tag along” and participate in separate tour choices once on site)

*San Jose travel pack includes pick up from SJO airport, shuttle to Cariari Double-Tree hotel, overnight stay, pick up back to airport in morning, flight down to Puerto Jimenez, flight back from Purerto Jimenez to SJO.

Book directly with Crocodile Bay: reservations@crocodilebay.com. Ask for Kerem and say that you are on the Rick Sammon December 2 – 8, 2019 Photo Workshop. Let me know – via email – when you register.

If you have questions for me, shoot me an email.

I hope to see you in beautiful Costa Rica.

rick sammon bonus tip copy.jpg

Why Breakthrough Photography Magnetic Filters Rock

Check out the filter I am holding in the above picture. That's right. There are no filter threads - because it's magnetic. Kinda cool!

So you may be asking, "What's so cool about about a magnetic filter and a magnetic filter holder?" Well my friends, here's the answers:

1) Screw-in filters can get "frozen" in place and can be difficult, if not impossible, to remove – except by a pro service center or with a filter wrench.

2) Screw-in filters can get cross-threaded. 

3) Screw-in filters that are tricky to thread can slip out of your hand and smash on the ground. Seen that!

4) When photographing at night in cold conditions and while wearing gloves, it can be difficult to screw in a filter.

Screen Shot 2018-08-12 at 2.25.19 PM.png

For these reasons, and after testing the Breakthrough Photography Magnetic Filters, Magnetic Ring Prototype, Magnetic Wheel Prototype, and because Breakthrough Photography makes the best color-accurate ND filters, awesome polarizing filters, and a cool Night Sky filter, I've totally switched to their magnetic filter system. Here's a very quick look at the system.

IMG_9161.jpg

After you screw the Magnetic Adapter Ring (again I'm using a prototype) onto your lens, all the magnetic filters snap into place - and can be easily removed. Can you still "dial in" the amount of polarization once a polarizing filter is in place? Sure. Simply use the inner ring to choose the amount of polarization.

Here's a quick tip: When you travel, keep the filters in their original cases, and mark each case so you can easily choose the filter you need for a certain situation.

Screen Shot 2018-08-12 at 3.24.02 PM.jpg

Speaking of ND filters, if you want to get the blurred water effect when photographing in bright light, a ND filter is a must. Read more in my book, Evolution of an Image.

IMG_9186.jpg

Because I have Canon lenses with 82mm and 77mm filter diameters, I travel with two Magnetic Adapter Rings – each marked in bag so I can grab on the go and shoot fast.

Hey! If you like long exposures, Breakthrough Photography offers a e-free book on Long Exposure photography. Click the image above to order.

If you'd like to learn more about creative photography, check out my KelbyOne on-line classes.

Explore the light,
Rick