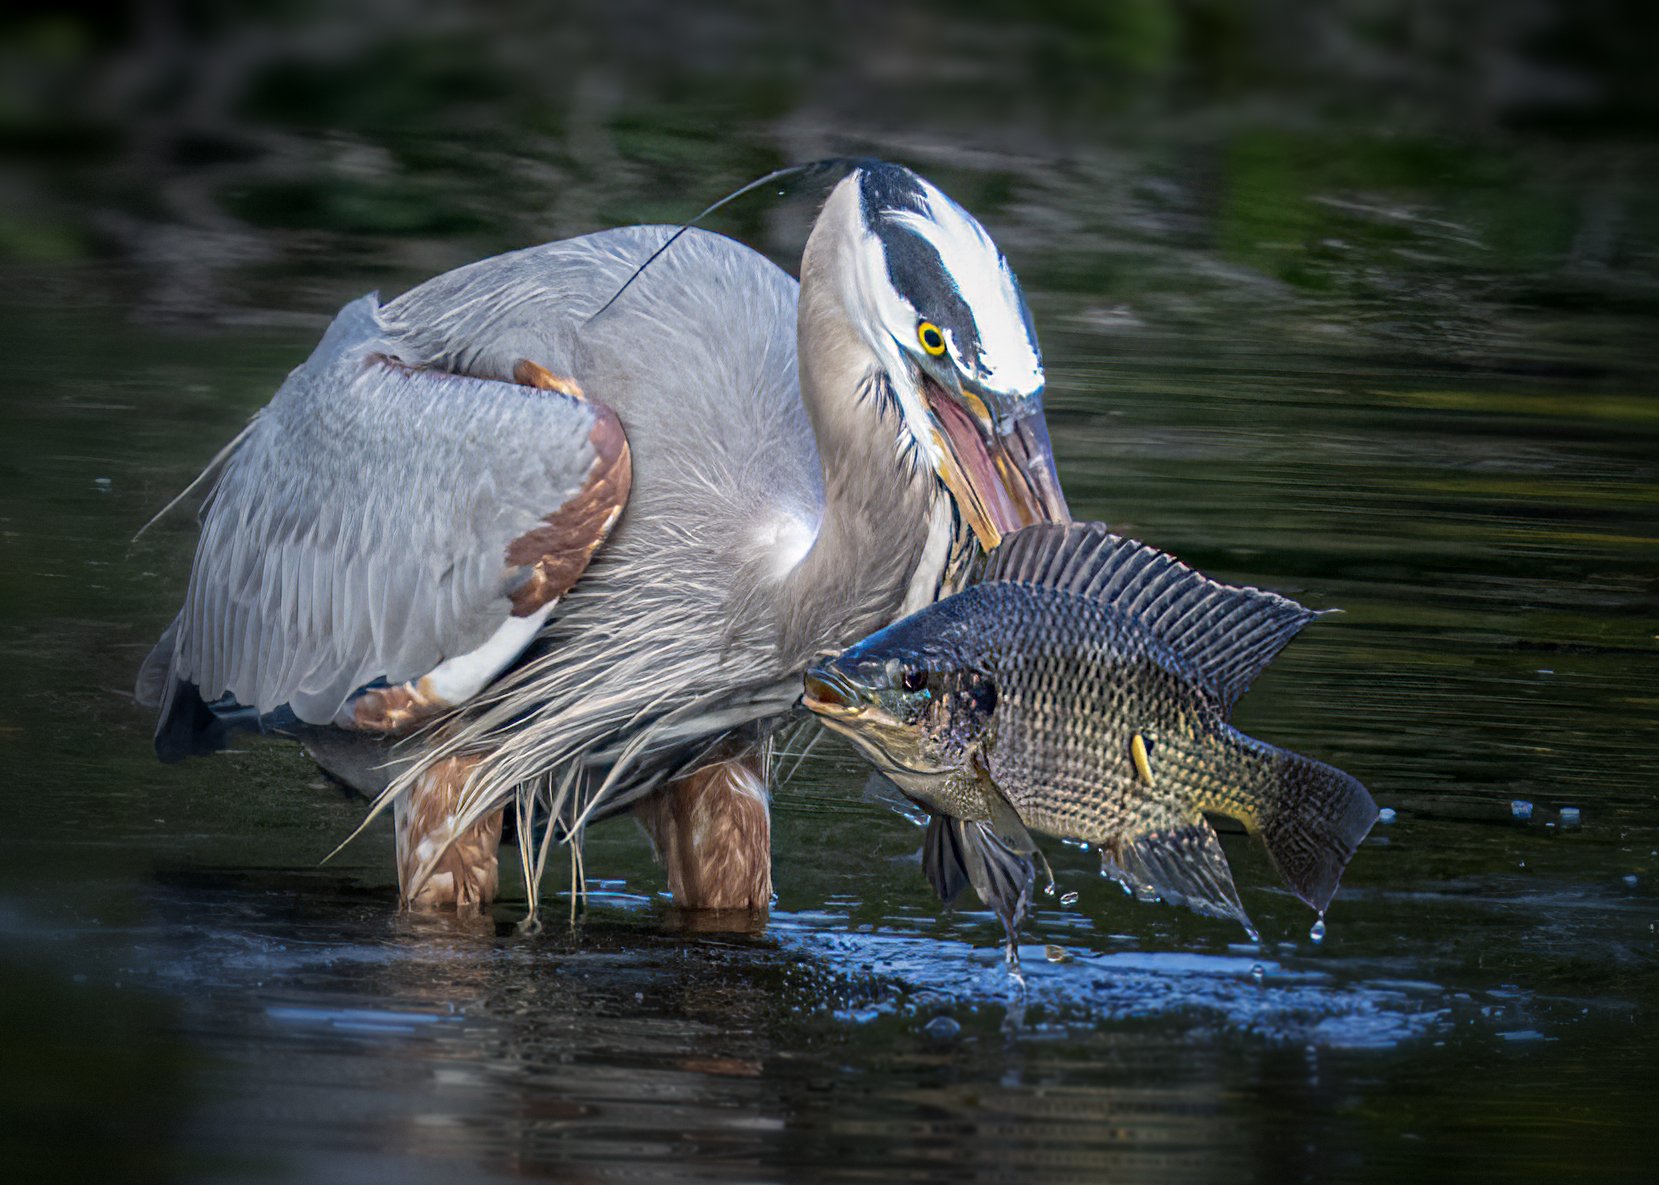
South Florida Photo Sojourn - with my Sony a1

Photographs of birds flying in their natural habitat are enjoyed by both wildlife photographers and nature lovers. Photographing birds in flight, however, is one of the most difficult photographic challenges. Here’s why:
One, birds are often zigzagging in different directions, so getting a sharp, in-focus shot is a challenge.
Two, the background is constantly changing – from light to dark, dark to light, from busy to plain, and from plain to busy. Those changes are important, because the background can make or break a shot.
Three, the lighting can change in the blink of an eye, sometimes shadowing the eye (which should be well lit in most cases).
Four, capturing a good gesture, perhaps wings up or wings down, is important for an image with impact.
Five, getting a good exposure of a bird with white feathers against a dark background can be a challenge, due to the contrast and brightness range in the scene.

In January 2023 I returned to two of my favorite bird photography locations in the United States: Wakodahatchee Wetlands and Green Cay Nature Center and Wetlands in South Florida. On this trip I was photographing with my Sony a1 and Sony 200-600mm lens. In this post I’ll share a few of my favorite photographs, along with some tips, from that rewarding sojourn.

And…. I’ll be back at Wakodahatchee in February 2024. Maybe I’ll see you there!

Beore we begin:
• I have two KelbyOne classes on bird photography that you may link. Click here to start the learning!

• Yes, a good camera, lens and eye are important, but so is a good (and fast and dependable) memory card. I use and recommend Delkin Devices cards, which I use in all my cameras.

Above: Understanding and observing bird behavior is important in bird (and in all wildlife) photography. For example, I observed this white ibis darting around and feeding for about 15 minutes before I took this photograph. To capture the subtle differences in the position of the bird’s wings (all-important gesture), I set my camera to the H+ (highest) frame rate.

Above: Talk about a photo challenge, actually several challenges in one! Check out this action shot of a Great Blue Heron. Seemingly out of nowhere, he gracefully flew past me. Because I had the AF Mode set to Tracking Expanded Spot, the Subject Selection set to Bird (Human and Animal are other choices), and the Exposure Compensation set to EV-1 (because I had been photographing white birds against dark backgrounds), I was able to raise my camera and basically point and shoot. So yes, it’s a lucky shot, but luck does favor the prepared photographer.

Above: For my action shots, I set my shutter speed to at least 1/1000th of a second to “freeze” the action. I also choose a wide aperture, usually f/7.1, to put the background out of focus. That out-of-focus background is especially important when a bird is positioned against a very busy background, as shown here.

Above: I took all my photographs with the File Format set to Uncompressed Raw - which gave me the highest quality file. Yes, those large files take up a lot of space on my memory cards, and also take some time to download, but with all mega data, I could do a mega crop and still get a high-quality image.

Above: Here is the original file from which the previous image was cropped. Talk about a mega crop!

Above: As I mentioned, all the photographs shown here were taken with my Sony 200-600mm lens. I found the lens to be super sharp through the entire zoom range, thanks in part to the lens’ OSS (Optical Steady Shot) system. I also found the 600mm maximum focal length very beneficial for bird photography.

Summing up, the Sony a1 and 200-600mm combo is now my go-to gear for all my wildlife photography – because on this trip I came home with more “keepers” (super sharp shots) than ever before.

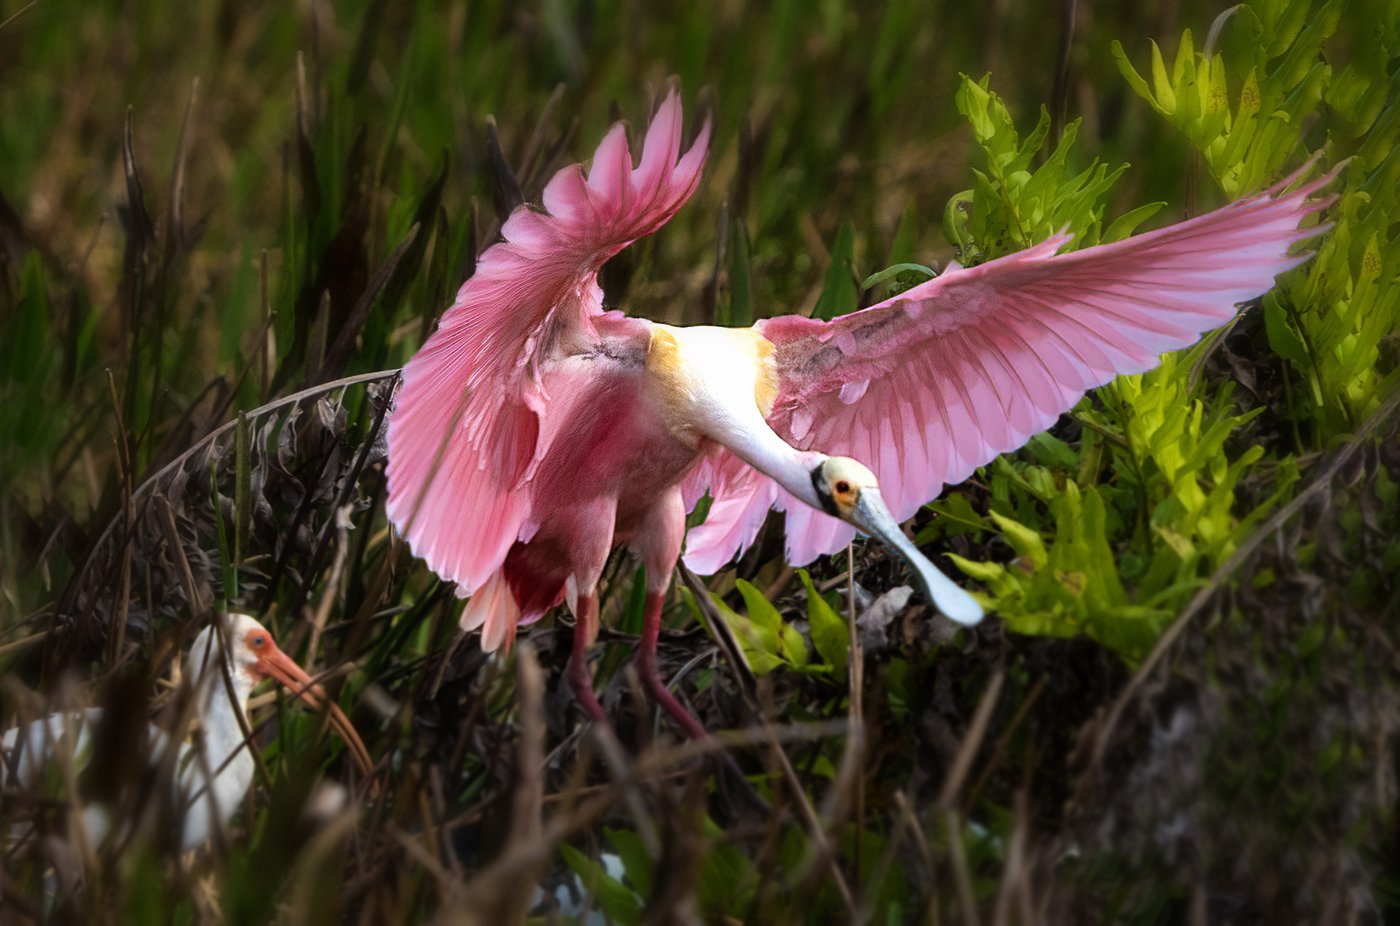
A Thanksgiving Message: We Are A Part of Everyone We Meet

If you lost someone this year, or know someone who lost someone, you might find this well-known quote comforting: “We are a part of everyone we meet.”

Fourteen years ago, late one December afternoon, my dad and I were sitting in his study. We were having a nice talk – and a nice time. I looked at him and thought: He looks so happy. The light is just right. I should take a picture - because it might be the last good picture I ever take of him. He was fading.

I thought about taking the picture for about 10 minutes, holding back some tears – thinking about what it would be like not to have him around, after having him around for so many years - as my dad, and later on in life as the first-pass editor for most of my books. (He was a great editor.)

I finally asked him if I could take a shot. He said sure, with a smile and nod. He knew what I was thinking. I asked him to look out the window, and I took a single shot.

My dad, 91, died suddenly and peacefully and quickly on April 3, 2010. A few hours before, while I was on the other side of the country, I had a dream about him: He had pushed his walker aside and was standing up straight. I had not dreamed about him for at least 20 years. Hummm....

Sure, I am very sad. I get waves of tears. I will miss him more than he probably ever realized. He was my dad, a very big part of my life – in fact, half the reason for my life. :-)

Those of you who know me know I enjoy quotes. Here is my favorite: "We are a part of everyone we meet." Want proof? My dad, Robert M. Sammon, Sr., was a photographer, getting me started, along with my mother, in photography with his cameras and basement darkroom. But more important, he was a good dad - which I try to be. Every day. I am very glad we met.

You might want to keep that quote in mind when you meet people. I sure do. You may have more of an impact on someone than you realize.

Rick

Proud son of Robert M. Sammon, Sr.

One Photo – 14 Photo Tips

Rick Sammon 13.jpg

Here's a favorite photo from one of my China photo workshops with Scott Kelby. I thought it would be fun to see how many tips I could give for this one photo. Here goes:

1) Get a Good Guide. My guides, Andy and Mia Beales, chose the location and time of day (predawn) for a picture-perfect scene.

2) Seek Separation. Notice how the two cormorant fishermen are perfectly separated. That's not by accident. We directed the fishermen into that position. Learn more about composition in my KelbyOne class, 20 Time-Proven Rules of Composition.

2) Frame It! Framing a subject in a scene helps that subject to stand out. On shore, I chose a position that showed the fisherman in the foreground framed by brighter background light.

3) Include the Background. The mountains in the background add a "sense of place" to the scene. Cover the mountains with your hand and see how it changes the "sense of place" of the picture.

4) Go for Gesture. Gesture is important in people photography, as well as in animal photography. Notice the gesture of the foreground fisherman's hand, and see how the background fisherman is holding his arms. Again, we directed the fishermen, as a movie director would direct his actors.

5) Crop Creatively - The areas above, below, and to the left and right of this scene did not add anything to the impact of this image. Cropping creatively was the answer to making a more interesting photograph.

6) Mood Matters Most - Taken in the predawn light, my original file (Canon 5D Mark IV) had a blue-grey cast. To enhance the mood of the scene, I boosted the blues.

7) Include Reflections - When you have a good reflection, include it in the scene. Had I cut off the top of the foreground fisherman's head reflected in the water, the picture would look as though it was missing something.

8) Expose for the Highlights - Activate your camera's highlight alert and make sure you have no "blinkies," which indicate overexposed areas in a scene. If you get "blinkies," reduce your exposure, bit by bit, until they are gone. Here I was shooting on the Av mode and set my exposure compensation to -1 EV.

9) Get it all in focus - This photograph looks like the scene looked to my eyes - everything in focus. Choose an aperture that will get everything in focus, if you want that effect. Here: Canon 24-70mm f/4 lens set at f/7.1 Focal length was set at 45mm.

10) Don't Be Afraid of Noise – Photographing in low light at high ISO settings usually means that you'll get a bit of noise in your photographs. Fear not, you can reduce noise in Photoshop, Lightroom and with plug-ins.

11) Envision the End Result - Before you shoot, envision the end result - in-camera and in the digital darkroom. I talk about that in my book, Creative Visualization.

12) Compose Using the Rule of Thirds - Imagine a tic-tac-toe grid over a frame and place the main subject where the lines intersect, as they would for the foreground fisherman.

Explore the light,
Rick

10 copy.jpg

P.S. Here's a behind-the-scenes look at our predawn photo shoot.

Analyze This

1.jpg

When I give a seminar or workshop, I am often asked, "What makes a photograph a good photograph?" A good question for sure.

I suggest that a "good photograph" is subjective, just like a piece of music. For example, just because you may not like opera or rap, that does not mean those types of music are bad.

There are, however, certain factors that make, what most would consider, a good photograph, such as and interesting subject, composition and lighting – stuff I talk about on my online classes and in my books.

I also suggest that a photographer analyze a photograph to look for elements that make a so-called good photograph.

Here is one example.

I think this photograph, which I took in Llanrwst, Conwy Valley, North Wales, is a good photograph. Of course, you may not agree – as all art is subjective.

The colors below correspond to my reasoning.

2.jpg

White - Light on the underside of the bridge contrasts with the shadows on the bridge, adding a sense of depth and dimension to the image. That light is why I got up early to take the shot.

Red – Photographing the scene at an angle draws the viewer's attention to the beautiful small building (great restaurant) in the frame.

Yellow – Beautiful side-light adds shadows, which also add a sense of depth to the image.

Blue – Everything in the scene is in focus, so the scene looks as it would look to your eyes if you were standing there. The depth-of-field was achieved by using a wide-angle lens, setting a small aperture, and focusing 1/3 into the scene.

Green – "Breathing room" at the top of the frame gives an open feeling to the image.

Analyze your images. It will help you weed out your weak shots – and help you pick your "good photographs."

Explore the light,
Rick