
Photographs of birds flying in their natural habitat are enjoyed by both wildlife photographers and nature lovers. Photographing birds in flight, however, is one of the most difficult photographic challenges. Here’s why:
One, birds are often zigzagging in different directions, so getting a sharp, in-focus shot is a challenge.
Two, the background is constantly changing – from light to dark, dark to light, from busy to plain, and from plain to busy. Those changes are important, because the background can make or break a shot.
Three, the lighting can change in the blink of an eye, sometimes shadowing the eye (which should be well lit in most cases).
Four, capturing a good gesture, perhaps wings up or wings down, is important for an image with impact.
Five, getting a good exposure of a bird with white feathers against a dark background can be a challenge, due to the contrast and brightness range in the scene.

In January 2023 I returned to two of my favorite bird photography locations in the United States: Wakodahatchee Wetlands and Green Cay Nature Center and Wetlands in South Florida. On this trip I was photographing with my Sony a1 and Sony 200-600mm lens. In this post I’ll share a few of my favorite photographs, along with some tips, from that rewarding sojourn.
And…. I’ll be back at Wakodahatchee in February 2024. Maybe I’ll see you there!
Beore we begin:
• I have two KelbyOne classes on bird photography that you may link. Click here to start the learning!
• Yes, a good camera, lens and eye are important, but so is a good (and fast and dependable) memory card. I use and recommend Delkin Devices cards, which I use in all my cameras.

Above: Understanding and observing bird behavior is important in bird (and in all wildlife) photography. For example, I observed this white ibis darting around and feeding for about 15 minutes before I took this photograph. To capture the subtle differences in the position of the bird’s wings (all-important gesture), I set my camera to the H+ (highest) frame rate.

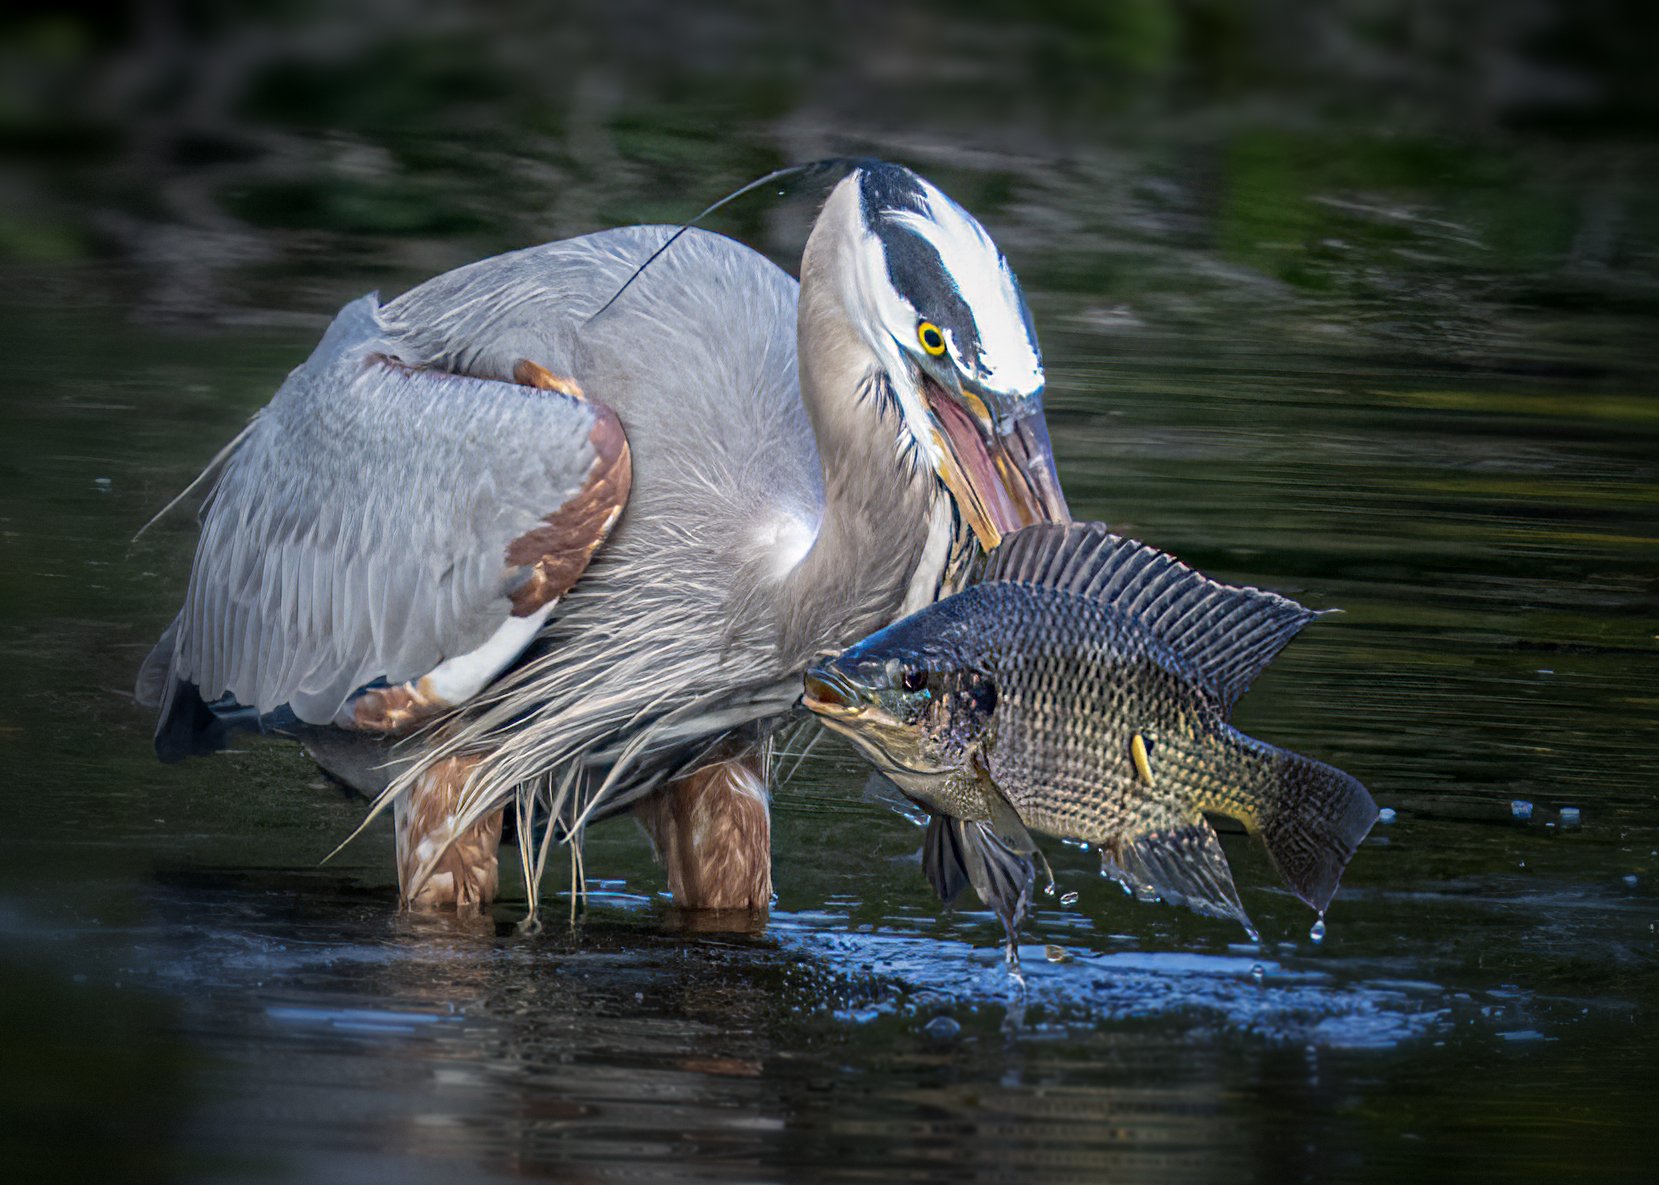
Above: Talk about a photo challenge, actually several challenges in one! Check out this action shot of a Great Blue Heron. Seemingly out of nowhere, he gracefully flew past me. Because I had the AF Mode set to Tracking Expanded Spot, the Subject Selection set to Bird (Human and Animal are other choices), and the Exposure Compensation set to EV-1 (because I had been photographing white birds against dark backgrounds), I was able to raise my camera and basically point and shoot. So yes, it’s a lucky shot, but luck does favor the prepared photographer.

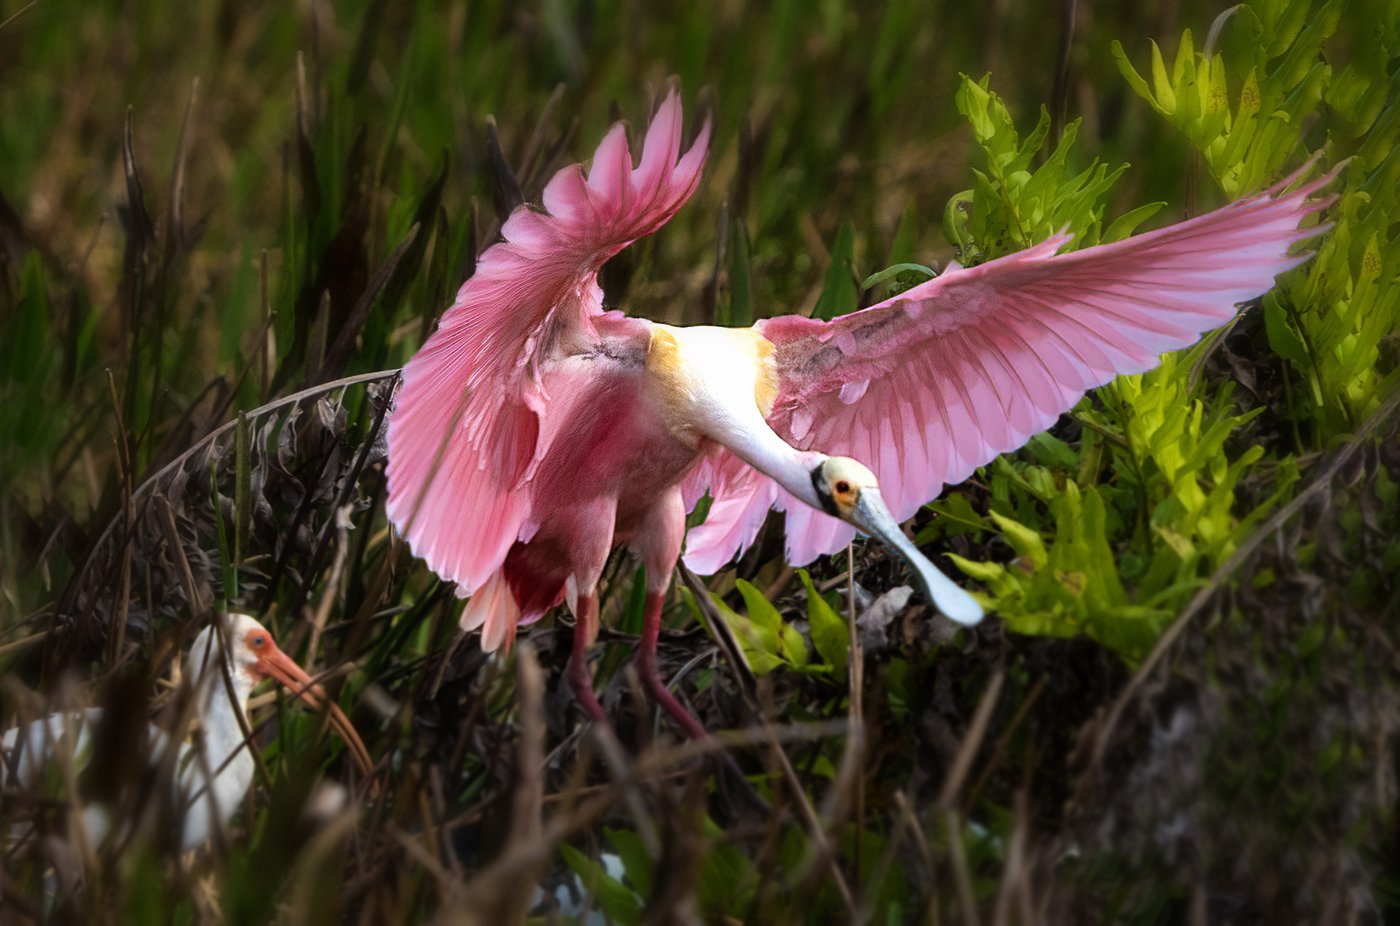
Above: For my action shots, I set my shutter speed to at least 1/1000th of a second to “freeze” the action. I also choose a wide aperture, usually f/7.1, to put the background out of focus. That out-of-focus background is especially important when a bird is positioned against a very busy background, as shown here.
Above: I took all my photographs with the File Format set to Uncompressed Raw - which gave me the highest quality file. Yes, those large files take up a lot of space on my memory cards, and also take some time to download, but with all mega data, I could do a mega crop and still get a high-quality image.

Above: Here is the original file from which the previous image was cropped. Talk about a mega crop!

Above: As I mentioned, all the photographs shown here were taken with my Sony 200-600mm lens. I found the lens to be super sharp through the entire zoom range, thanks in part to the lens’ OSS (Optical Steady Shot) system. I also found the 600mm maximum focal length very beneficial for bird photography.
Summing up, the Sony a1 and 200-600mm combo is now my go-to gear for all my wildlife photography – because on this trip I came home with more “keepers” (super sharp shots) than ever before.