bosque del apache

Virtual Bosque del Apache Photo Workshop – Trip Planner

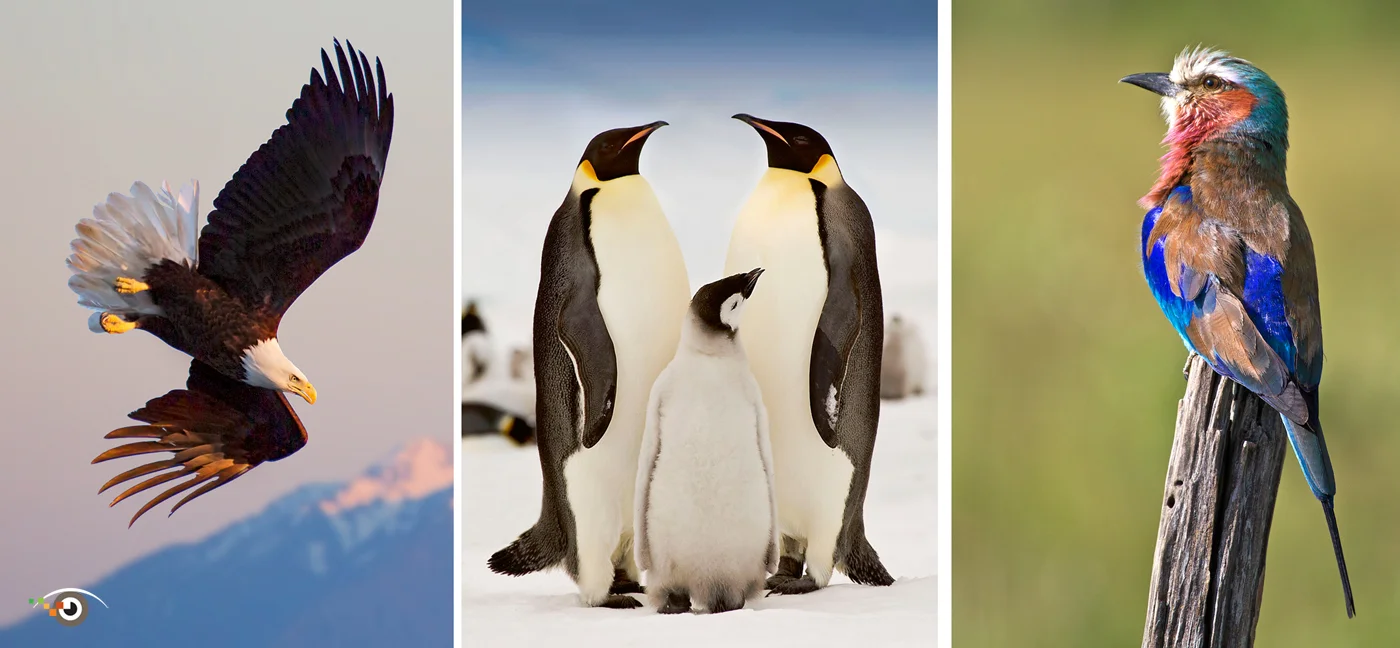
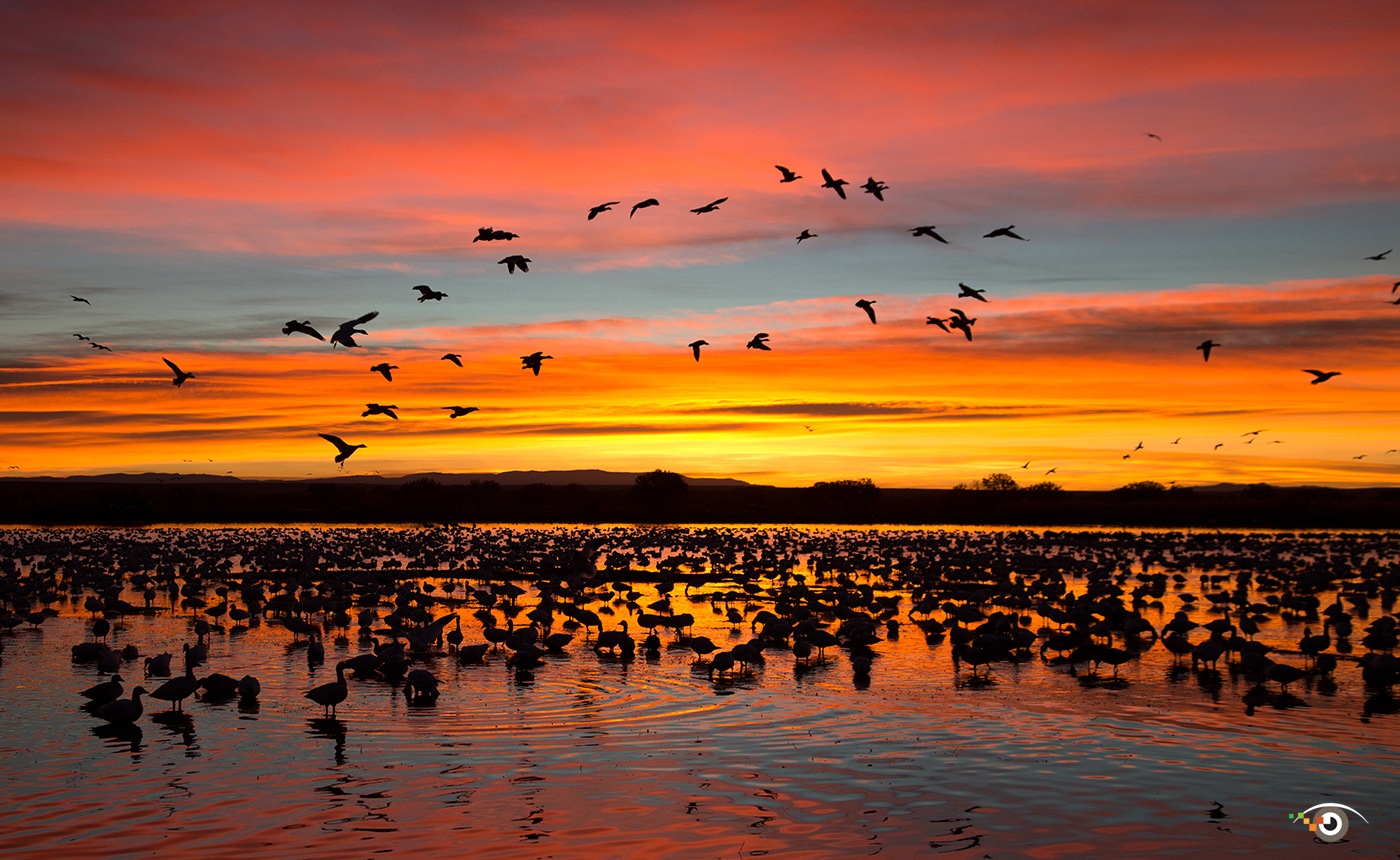
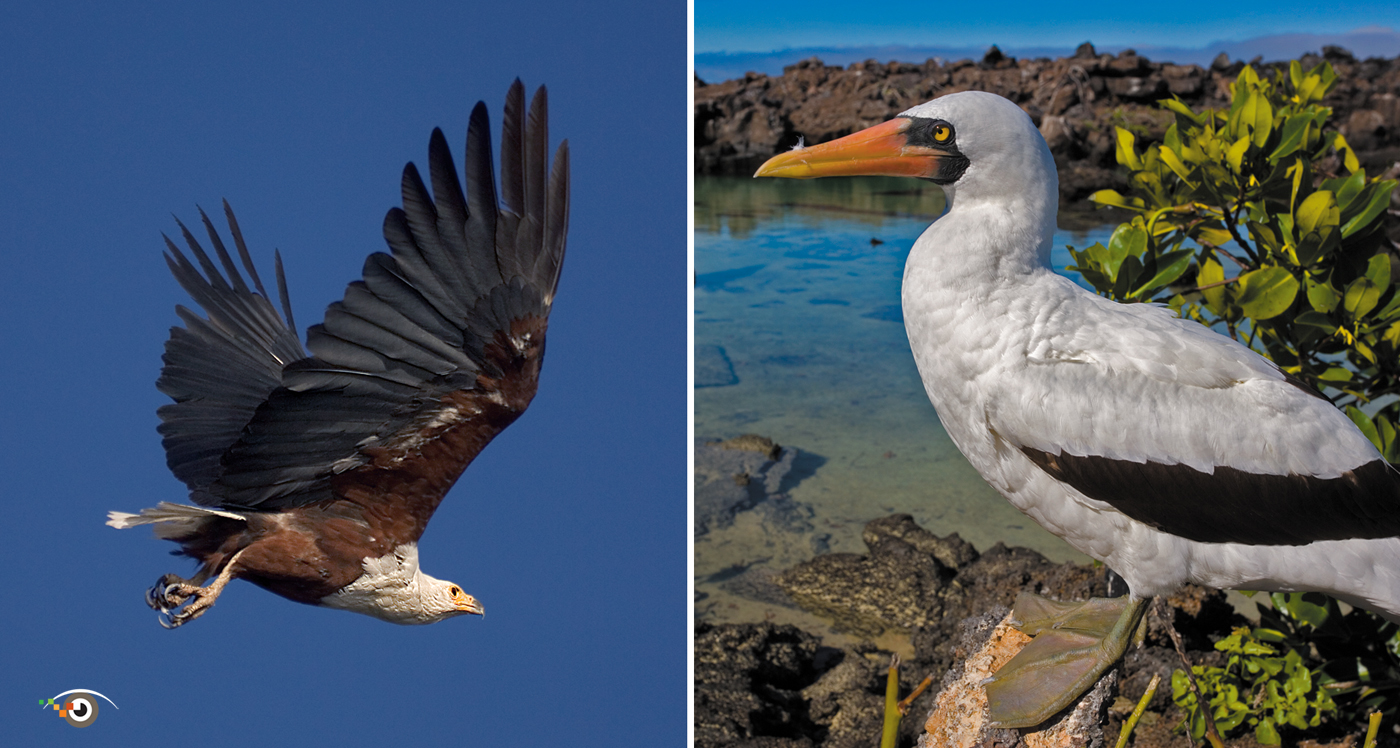
Here's a cool idea for all those who ever wanted to do a Bosque del Apache photo workshop – but who also like the freedom of traveling alone or with a buddy . . . and who don't have the budget for a live workshop, which can be very expensive. It's an on-line virtual photo workshop where I help you – before and after your trip – make photographs like the ones in my Feather Friends photo gallery (which also includes photographs from Alaska and other location around the world.)

What's included:
• My on-line class, Master the Art and Craft of Bird Photography.
• My e-book, Capture the Beauty of Bosque del Apache.
• I share with you the best places to shoot - and times of day.
• One-hour Skype session before your trip where we discuss your trip and I review your photographs.
• I need your Skype name and a link for a gallery of your best images.
• One-hour Skype session after your trip where I review your new photographs and offer composition, exposure and processing suggestions.

Cost for the virtual photo workshop is $199 payable via paypal. Shoot me an email to arrange your virtual photo workshop.

I also give virtual photo workshops to Route 66, Oregon Coast, Iceland, Botswana and Kenya.

Explore the light,
Rick

Day 5: 5 Days of Bosque del Apache Images and Tips

It's Day 5 in my series here on my blog: 5 Days of Bosque del Apache Images and Tips. I'm running this series in preparation for my 2015 Bosque workshop (which is full) and my 2016 Bosque workshop. Click here to see all my 2016 workshops.

Feel free to drag my images into Bridge or Lightroom for metadata.

Opening image: This photographer is shooting with a super-telephoto lens and a telephoto lens. Most photographers at Bosque shoot with two lenses. Me? I always have my wide-angle zoom and telephoto zoom handy.

This photographer is also dressed in camo gear, which is good for photographing wildlife.

Parked behind this photographer were about 20 white, red, blue, silver etc. cars. Standing next to the cars were people wearing brightly colored jackets. So, I am not sure the camo gear helps, but it can't hurt.

Well before you leave home, pack your camera bag. Make sure everything fits and make sure you have everything you need to make great pictures, and process your images on site.

If possible, bring a back-up camera and back-up lenses. There are no major camera stores Bosque. The closest ones are in Albuquerque.

I took this shot of my car’s dashboard with my iPhone. I included it here as a reminded of just how cold it can get in the mornings during November and December. Dress warmly and in layers.

Remember that you are in the desert. By lunchtime, you may be in a t-shirt.

Don’t have super-telephoto lenses, or super-wide-angle lenses for that matter? If you are a Canon shooter like me, join Canon CPS (Canon Professional Services). If you get approved, you can borrow lenses, as well as cameras.

Borrowlenses.com is the company I recommend for renting cameras, lenses and just about anything photographic you need.

Bird photographers need to look up for two reasons: One, to look for photo opportunities; two, to look out for birds flying directly overhead. Overhead birds can mean falling bird poop.

That’s bird poop on my pants in these photographs. I should have been more aware of what was happening overhead!

Looking up is worth it. Check out the shadow on the wing of this sandhill crane. Talk about "dumb luck" shots.

I hope to see you in Bosque sometime. If we meet, remember to keep your head down!

Explore the light,
Rick

What's new? My 36th book: Creative Visualization for Photographers.


Day 2: 5 Days of Bosque del Apache Images and Tips

It's Day 2 in my series: 5 Days of Bosque del Apache Images and Tips. I'm running this series in preparation for my 2015 Bosque workshop (full) and 2016 Bosque workshop. Click here to see all my 2016 workshops.

Feel free to drag my images into Bridge or Lightroom for Metadata.

Today's Tip: Compose and Crop Carefully

Do a “drive though” at the Refuge the day before your first sunrise shoot. Sunrise, by the way, is the best time to photograph at Bosque. All the colorful photographs in this post were taken slightly before, at, and shortly after sunrise.

There are one-way loops that you must stay on inside the Refuge. Sometimes, due to snow, some loops are closed. Check the weather before you leave your hotel room.

Pull off only in designated areas, or else you may see some flashing lights and park rangers who will ask you to move.

Compose and crop your photographs creatively. All the pictures in this post are cropped from the original RAW files.

Before you leave home, spend some time on the Friends of the Bosque web site: www.friendsofthebosque.org. You’ll find lots of good information here.

On the way into Bosque, stop by the information center to learn more about this awesome location.

Composing a photograph with an important subject off center leads the viewer’s eye around the frame.

Placing the horizon line near the top or bottom of the frame is a more interesting composition technique than placing the horizon line in the center of the frame – unless you are working with a perfect reflection.

I used a relatively slow shutter speed to add a bit of blur – a sense of motion – to the birds’ wings in this photograph.

Here’s an example of placing the horizon line in the center of the frame. It usually works well for reflection images. I created this reflection image in Photoshop.

For detailed information on photographing birds, check out my on-line class: Master the Art and Craft of Bird Photography.

Explore the light,
Rick

What's new? My 36th book: Creative Visualization for Photographers

Day 1: 5 Days of Bosque del Apache Images and Tips

It's Day 1 in my series: 5 Days of Bosque del Apache Images and Tips. I'm running this series in preparation for my 2015 Bosque workshop (full) and 2016 Bosque workshop. Click here to see all my 2016 workshops.

Feel free to drag my images into Bridge or Lightroom for Metadata.

Today's Tip: You snooze you lose.

Plan to arrive on site by around 5 AM so you can get a good spot to set up your tripod and gear. In November and December (the best times for The Blast Off) there will be many other photographers on site, all wanting to get great shots of the birds in flight.

About The Blast Off: thousands of snow geese and sandhill cranes take off at about the same time and fill the sky with action. The Blast Off usually happens around daybreak.

Always have your wide-angle lens and telephoto lens handy – as opposed to having them tucked away in your camera bag. That way, you’ll be able to take photographs that will tell the story of your experience. I keep my camera with a telephoto zoom lens on my tripod and my camera with a wide-angle zoom on a neck strap.

Use a shutter speed of at least 1/1000th of a second to stop the movement of the birds’ wings – if that is your goal.

To catch The Blast Off you need to arrive on site in the dark. Use a head-mounted flashlight so you can easily set up your gear without having to hold a flashlight.

Also make sure you have gloves that will let you operate your camera in the cold. In November and December, it’s often below zero before the sun rises.

Hand and toe warmers can be a godsend. However, at most shooting locations you are never more than a few minutes from your car.

Slightly underexpose an image to get a more dramatic silhouette.

Bosque del Apache National Wildlife Refuge is located about 9 miles from the small town of San Antonio, which is south of Socorro, New Mexico, where birders and photographers book hotel rooms. Most folks fly into Albuquerque, NM.

The Blast Off happens fast, so you need to be ready to shoot. The Blast Off is usually over in a minute . . . but it’s well worth it. It’s an awe-inspiring site.

Check your histogram and highlight alert and make sure you don’t overexpose the highlights.

Plan to spend a few days on site, because the sky is different every day. The sky was actually quite dull in this image. I added the color with a Gradual Filter in Nik Color Efex Pro.

I hope to see you in Bosque.

For detailed information on photographing birds, check out my on-line class: Master the Art and Craft of Bird Photography.

Explore the light,
Rick

Make Better Bird Photographs

Do you like making bird photographs – and processing your bird photography images? If so, I think you will like my on-line seminar/class, Master The Art and Craft of Bird Photography. I'll show you how to photograph birds in flight . . . to birds on a stick.

The class/seminar is about one hour in length and features my favorite photographs of our feathered friends.

Class Topics
• Introduction
• Learning
• Setting Goals
• A Bit of Blur
• Seeing the Light
• Story Telling
• Exploring Bosque
• Exposure
• Histogram
• Both Eyes Open
• Focus Point
• Light and Mood
• Basic Enhancements
• Think Like a Painter
• Daylight Fill-in Flash
• Birds on a Stick
• Art in Nature
• More Creative Images
• Gear
• Good luck

  Click here to order.

The seminar is a recording/QuickTime movie of my Keynote slide presentation, Master the Art and Craft of Bird Photography. You watch and learn at your own pace.

Click here to see a preview of the class - which features almost 150 images from my travels around the world.

That's me with my assistant during one of our bird photography shoots! :-)

In the seminar/class I cover shooting and a bit of processing, including, "Thinking Like a Painter." In that section I talk about sharpening selectively, illustrated above with a Photoshop screen grab (from the class). Process: Filter > Convert to Smart Filter > apply Unsharp Mask, mask out the background. Sharpening the background would detract from the main subject, as well as increasing noise, which can show up in out-of-focus areas in a frame.

Of course, you can also sharpen selectively in Lightroom – illustrated above with two Lightroom screen grabs – top showing selective sharpening (on eagle), accomplished by holding down the Opt/Alt key when using the Masking slider (moving it to the right) in the Details panel.

The concept: A painter would not sharpen an entire image, so think/work like a painter.

Speaking of thinking like a painter . . .click the image above to see a clip that did not make it into my seminar/class. I did not include it because: I cover Thinking Like a Painter in the seminar/class - and because I wanted to keep the class just under one hour. So enjoy - and always think like a painter. ;-)

In the seminar/class I also talk about using plug-ins to improve images. Above is a screen shot that shows the Tonal Contrast filter in Nik Color Efex Pro - a cool way to increase contrast for a more dramatic image.

Above is a screen shot that shows another Nik Color Efex filter - Darken/Lighten Center - that I use to draw more attention to the main subject.

I also briefly cover Daylight Fill-in Flash in the seminar/class. For more detailed info on fill-flash, see:
Daylight Fill-in Flash - Layers Magazine
Daylight Fill-in Flash - Outdoor Photographer Magazine
Daylight Fill-in Flash - X-Train

Above: A must-see for serious bird photographers: The Blast Off at Bosque del Apache, New Mexico. Below: grabbing a bite to eat in Alaska. :-)

Here are 10 quick bird photography tips:

1 - Focus on the eye. If the eye is not in focus, you’ve missed the shot.
2 - Make sure the eye is well lit. If it’s not, you have missed- the shot, unless you want a silhouette or if you are looking to create a sense of mystery in the scene.
3 - Expose for the highlights (small areas of bright feathers).
4 - Set your camera on focus tracking to track a bird right up to the moment of exposure.
5 - Set the focus point in your viewfinder to focus on a small area of the frame and set that point on the bird.
6 - Use a shutter speed of at least 1/1000th of a second to freeze the action fast-moving birds.
7 - Set your camera to the fastest frame rate to capture subtle differences in the subject’s body position.
8 - Take full-frame shots and environmental photographs.
9 - Watch the background. It can make or break your shot.
10 - When you are composing a photograph of a flying bird, leave some room in the frame into which the bird can fly.

Try to avoid these bird photo faux pas:
Left: bird is flying away from you (in some cases);
Right: tail is amputated.

Like photographing birds at zoos - but don't like the wire fences that ruin your photographs? Try the photographer's disappearing act, as illustrated above. Use a telephoto lens, place the lens (w/out a lens hood) directly on the fence where there is an opening, and shoot at the widest aperture. This set-up creates a very shallow depth of field, so the fence disappears. This techniques works best when the fence is black or in the shade.

In the top photo, I darkened the edges of the frame to draw more attention to the main subject.

Below: The technique works for big cats, too! :-)


How cool! Steve Bailes from Spartenburg, SC sent me a note with the following cool tip. Check it out! Thank you Steve!

Looking forward to your bird seminar.  One trick you may not know that I learned from birdwatching. 

Sometimes there is a bird that just won’t come out in the open for a photo.  I use an Audubon app on my I-phone. 

When I was at the coast, I knew the sound of a painted bunting but it was across the marsh.  I simply took out my phone, pulled up the bird and played the vocalization (which it heard from 50 yards across.)  As soon as it heard it, the bird flew and landed within 20 feet, ready for a photo.  Since I was near some bushes with dead branches, I guessed where it would come and set myself so that the sunlight would hit it when it landed. 

This isn’t a photography trick, just a bird trick, but it works very well in the springtime and early summer to draw birds into close range.

• • • • •

PhotographerSusan Wilkinson makes a good point (on a Google+ post) about bird vocalization apps. Take it away, Susan.

Steve's use of a bird app's vocalizations to call in birds is a common practice and one that I have used as well. I just want to make a point that I think should be mentioned.

"First, it is important to point out that the use of playback is prohibited in many parks and refuges. It is also illegal to disturb any endangered or threatened species (and playback can be interpreted as disturbance). Any potential negative impacts of playback are more likely to occur in areas with a lot of birding pressure, so avoiding playback entirely in those places is a good idea. Where and how to use it in other situations is up the individual birder."
Credit: Sibley Guide 

Many federal, state parks and wildlife refuges do not allow the use of such apps. Also, there are many avid bird watchers and photographers who frown upon the use. 

Here's a few links for anyone that is interested in the use of these apps:
American Birding Association
http://iphone.ibird.com/ABA_Ethics.html
Sibley Guide
http://www.sibleyguides.com/2011/04/the-proper-use-of-playback-in-birding/
Ethics of Bird Calls
http://birding.about.com/od/birdingbasics/a/Ethics-Of-Bird-Calls.htm

Thanks for sharing all your wonderful tips and beautiful images, Rick. 


IMG_2875.JPG

Here's a look at the gear I use for my bird photography:

Cameras/Lenses
New Canon 100-400mm IS lens
Canon70-200 f/4 IS lens
Canon 24-105mm IS lens
Canon 400mm DO lens 

Tripod/Ball Head
Induro CT 214
Induro BDH 1

Speedlites
Canon 600EX-RT Speedlite
Canon ST-E3 Speedlite Transmitter


Like black and white bird photography? Learn about how color filters (in plug-ins) change the tones in a photograph. Experiment with different color filters to see which one is best – for you.

Also know that contrast becomes more important when the color is removed.


Like on-line learning? Click here to see all my on-line classes.

Explore the light,
Rick