1. The
faster the lens the better. 2.8 is popular and works great, lenses with a
larger aperture will work that much faster. All of my shots n this post are at
f2.8, and of course wide angle lenses are ideal!
2. A
good starting point for ISO would be 1000 (start here and work your way up),
but most of the time you will find yourself moving up fast. I tend to favor the
2000-4000 marks. Noise reduction can be cured drastically in Lightroom,
Photoshop and a lot of plugins, so do not hesitate to bump it up if you need
to.
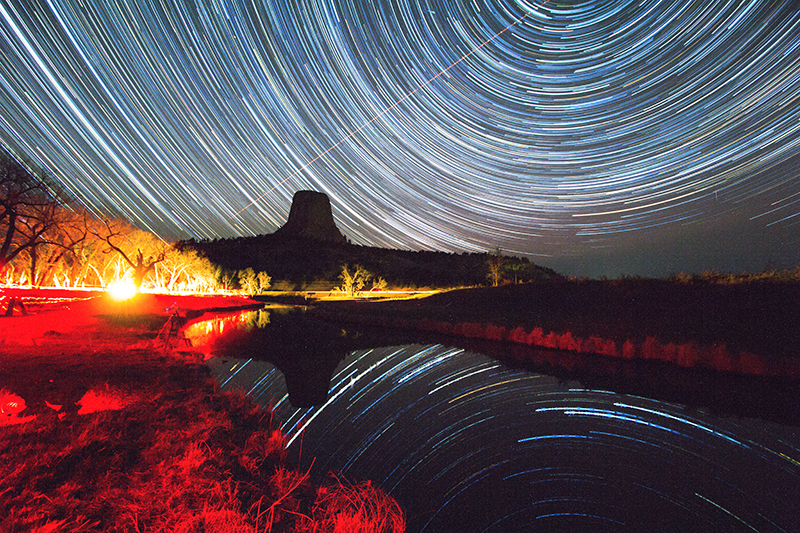
3. For
shutter speed, most of the time I am between 20-30 seconds. If you want to
avoid star trails, then keep it under 30. At 30 seconds plus, you will start to
get star trails, which is a whole other ballgame (but a fun one). Of course you
will need a tripod and it will also help to use a remote or set the self timer
to 5 seconds or so. This allows the camera to stabilize after you touch it.
4. When
scouting a location, take a pic at 30 seconds (or longer) with the ISO sky
high! That way you can create your composition and see whats really out there
in the dark. Then play with the above
settings.
Aside from these guidelines, here is some other things to keep in
mind.
If your primary focus is the Milky Way, shoot on, or within a day
or two of the new moon. The darker the sky, the better. If you want to include
some foreground elements, then a little moonlight can help illuminate the
scene. A quarter moon can be good for this. Just because the moon is not a new
moon does not mean you are out of luck. Also keep an eye on what time the moon
sets. Every month there will be time to catch the moon set and still have time
before sun up to shoot away. There are plenty of free apps for both Apple and
Android to figure out when and where the moon sets and some even have entire
star charts.